In today’s connected world, a strong and reliable Wi-Fi signal is essential. However, most households face the same frustrating issue—Wi-Fi dead zones. If you’ve ever struggled to stream videos or work online in certain corners of your home, it’s likely due to weak signal coverage. The good news is that you can easily fix this by learning how to setup a Wi-Fi range extender.
A Wi-Fi range extender, also known as a Wi-Fi booster or repeater, helps amplify your existing wireless signal and expand its reach to areas where the main router’s signal doesn’t reach effectively. Setting up a Wi-Fi extender may sound technical, but it’s actually quite simple once you follow the correct steps. In this comprehensive guide, we’ll walk you through how to setup a Wi-Fi range extender step-by-step, ensuring your home or office stays connected in every corner.
Understanding What a Wi-Fi Range Extender Does
Before jumping into setup, it’s important to understand what exactly a Wi-Fi range extender does. It captures the existing Wi-Fi signal from your router, amplifies it, and rebroadcasts it to extend the coverage area. This means you’ll have stronger connectivity in hard-to-reach places like basements, upstairs rooms, or outdoor areas.
Many people confuse range extenders with mesh systems or access points. While they all improve Wi-Fi coverage, an extender is often the easiest and most affordable option for smaller homes or offices.
Choose the Right Wi-Fi Range Extender
The first step in how to setup a Wi-Fi range extender is selecting the right device. Ensure the extender you purchase is compatible with your router and supports the same Wi-Fi standard (such as 802.11ac or Wi-Fi 6). Choosing a dual-band extender can significantly enhance performance by reducing interference and allowing faster data transfer.
If you’re unsure which one to pick, consider checking the router’s brand and model. Many manufacturers design extenders that pair seamlessly with their own routers, making setup easier.
Find the Best Location for Your Extender
The placement of your extender plays a major role in its performance. Avoid setting it too far from the router or too close to areas with strong interference (like microwaves, cordless phones, or thick walls). Ideally, position the extender midway between your router and the area with poor connectivity.
A good rule of thumb is to place the extender where your Wi-Fi signal strength is about 50%—strong enough for the extender to capture and amplify effectively.
Power Up and Connect
Once you’ve found the ideal spot, plug the Wi-Fi range extender into a power outlet. Wait for it to power on—most devices will display indicator lights when ready. Next, connect to the extender’s default Wi-Fi network using your smartphone, laptop, or desktop. The default network name (SSID) and password are usually printed on a sticker on the device.
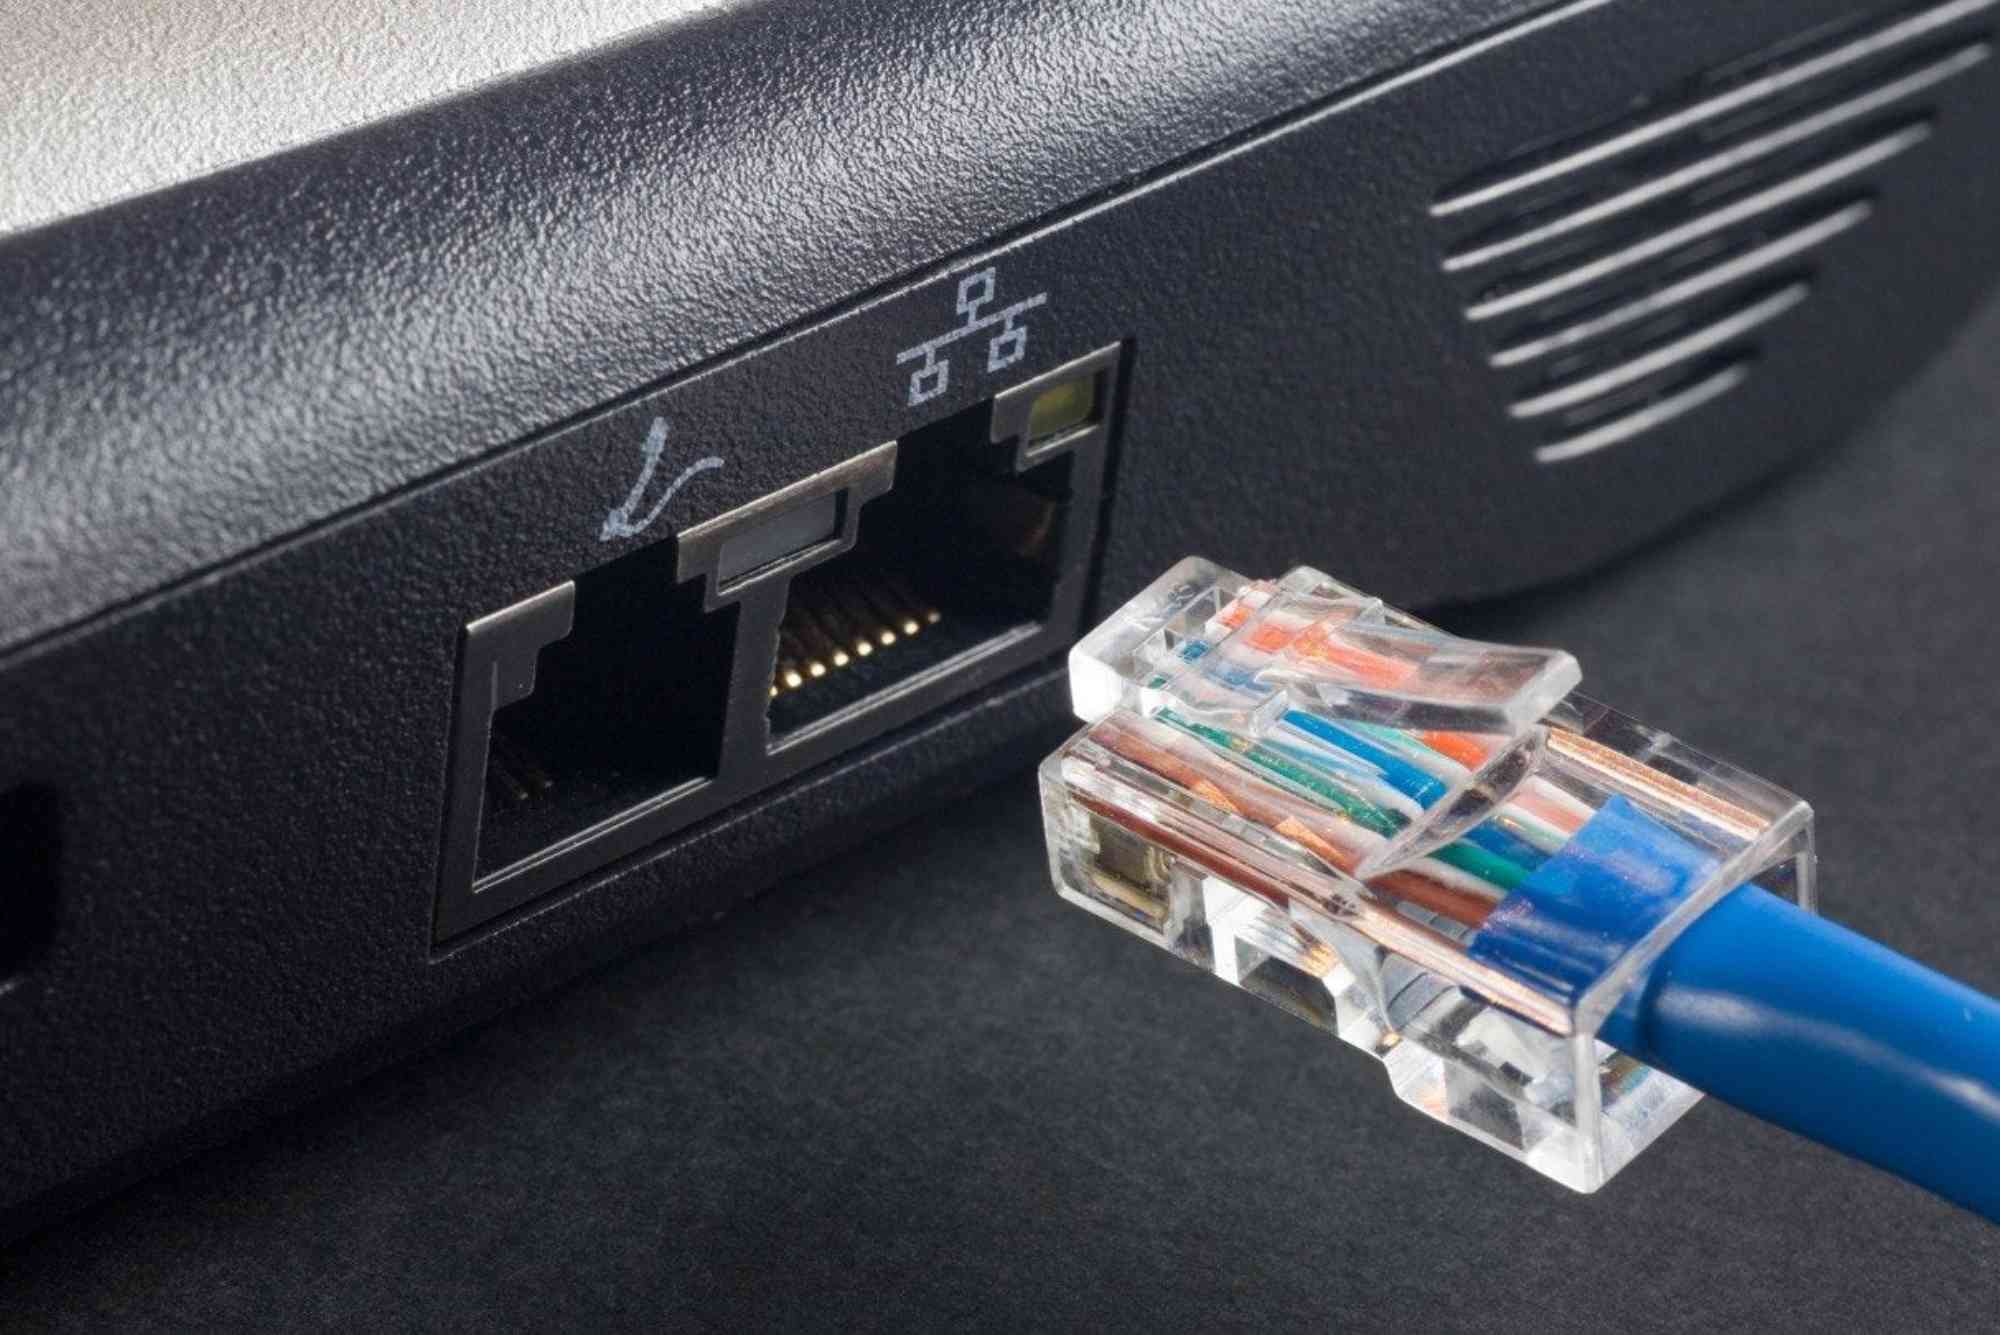
Some extenders may have an Ethernet port that lets you connect directly to your computer during the setup process. This can be especially useful for the initial configuration.
Access the Setup Page
Open your web browser and type in the extender’s setup URL—commonly something like “http://192.168.0.1” or a brand-specific web address (check the manual for details). You’ll be prompted to log in using the default username and password provided in the device documentation.
Once logged in, the setup wizard will guide you through the configuration process. Follow the on-screen instructions carefully to connect the extender to your existing Wi-Fi network.
Connect to Your Existing Wi-Fi Network
During setup, your extender will scan for nearby Wi-Fi networks. Select your home network (SSID) and enter the Wi-Fi password. The extender will then link to your router and begin extending the network’s coverage.
You can usually choose whether to keep the same network name as your main router or create a new one (like “Home_WiFi_EXT”). Keeping the same SSID allows devices to switch seamlessly between the router and the extender, but using a unique name makes it easier to identify which network you’re connected to.
Confirm the Connection and Test the Signal
Once your extender is configured, move around your home to test the signal strength in previously weak areas. If you notice improved speeds and consistent connectivity, you’ve successfully extended your Wi-Fi range.
If the performance still feels weak, try repositioning the extender slightly closer to the router or away from physical obstructions. Many extenders include LED signal indicators that help determine the ideal placement.
Secure Your Extended Network
Security is crucial when expanding your Wi-Fi coverage. Make sure your extended network uses WPA2 or WPA3 encryption and update the default password to a strong, unique one. This prevents unauthorized users from accessing your network and ensures your data remains safe.
You can also log back into the extender’s settings anytime to manage security configurations, change passwords, or update firmware for better performance.
Optimize Performance for Best Results
To make the most out of your Wi-Fi extender, keep your router firmware up to date and avoid overlapping Wi-Fi channels. Position both devices in open spaces for better air circulation and fewer signal blockages.
If you frequently stream videos, work from home, or play online games, you may also consider upgrading your internet package or using a mesh Wi-Fi system for even broader coverage.
For professional-grade installation and network optimization, you can explore services like Dhanote Internet Services that specialize in improving home and business internet performance.
Common Troubleshooting Tips
If your Wi-Fi range extender isn’t working as expected, try the following:
-
Restart both your router and extender.
-
Check for firmware updates on the manufacturer’s website.
-
Reset the extender to factory settings and repeat the setup process.
-
Ensure you’ve entered the correct Wi-Fi password during setup.
Sometimes, signal issues can also stem from your main router rather than the extender itself. Checking both devices helps pinpoint the problem.
FAQ: How to Setup a Wi-Fi Range Extender
1. How far should a Wi-Fi range extender be from the router?
Place it within the router’s coverage area but close enough to the dead zone—ideally where the signal strength is still around 50%.
2. Can I use multiple Wi-Fi range extenders at once?
Yes, but each extender should connect to the main router rather than another extender to prevent signal degradation.
3. Does a Wi-Fi extender slow down internet speed?
A small speed drop may occur since the extender repeats the signal, but if placed correctly, it won’t be noticeable during normal use.
4. Is there a difference between a Wi-Fi extender and a booster?
Both terms are often used interchangeably, but technically, an extender repeats the signal while a booster amplifies it directly.
5. How do I know if my Wi-Fi range extender is working?
You’ll notice stronger Wi-Fi signals and faster speeds in previously weak areas. You can also check through the extender’s admin panel or signal LEDs.
Extend Your Wi-Fi, Expand Your Possibilities
Setting up a Wi-Fi range extender doesn’t require technical expertise—just patience and the right steps. By understanding how to setup a Wi-Fi range extender and following the process outlined above, you can eliminate dead zones, boost connectivity, and enjoy smooth streaming and browsing across your entire space.