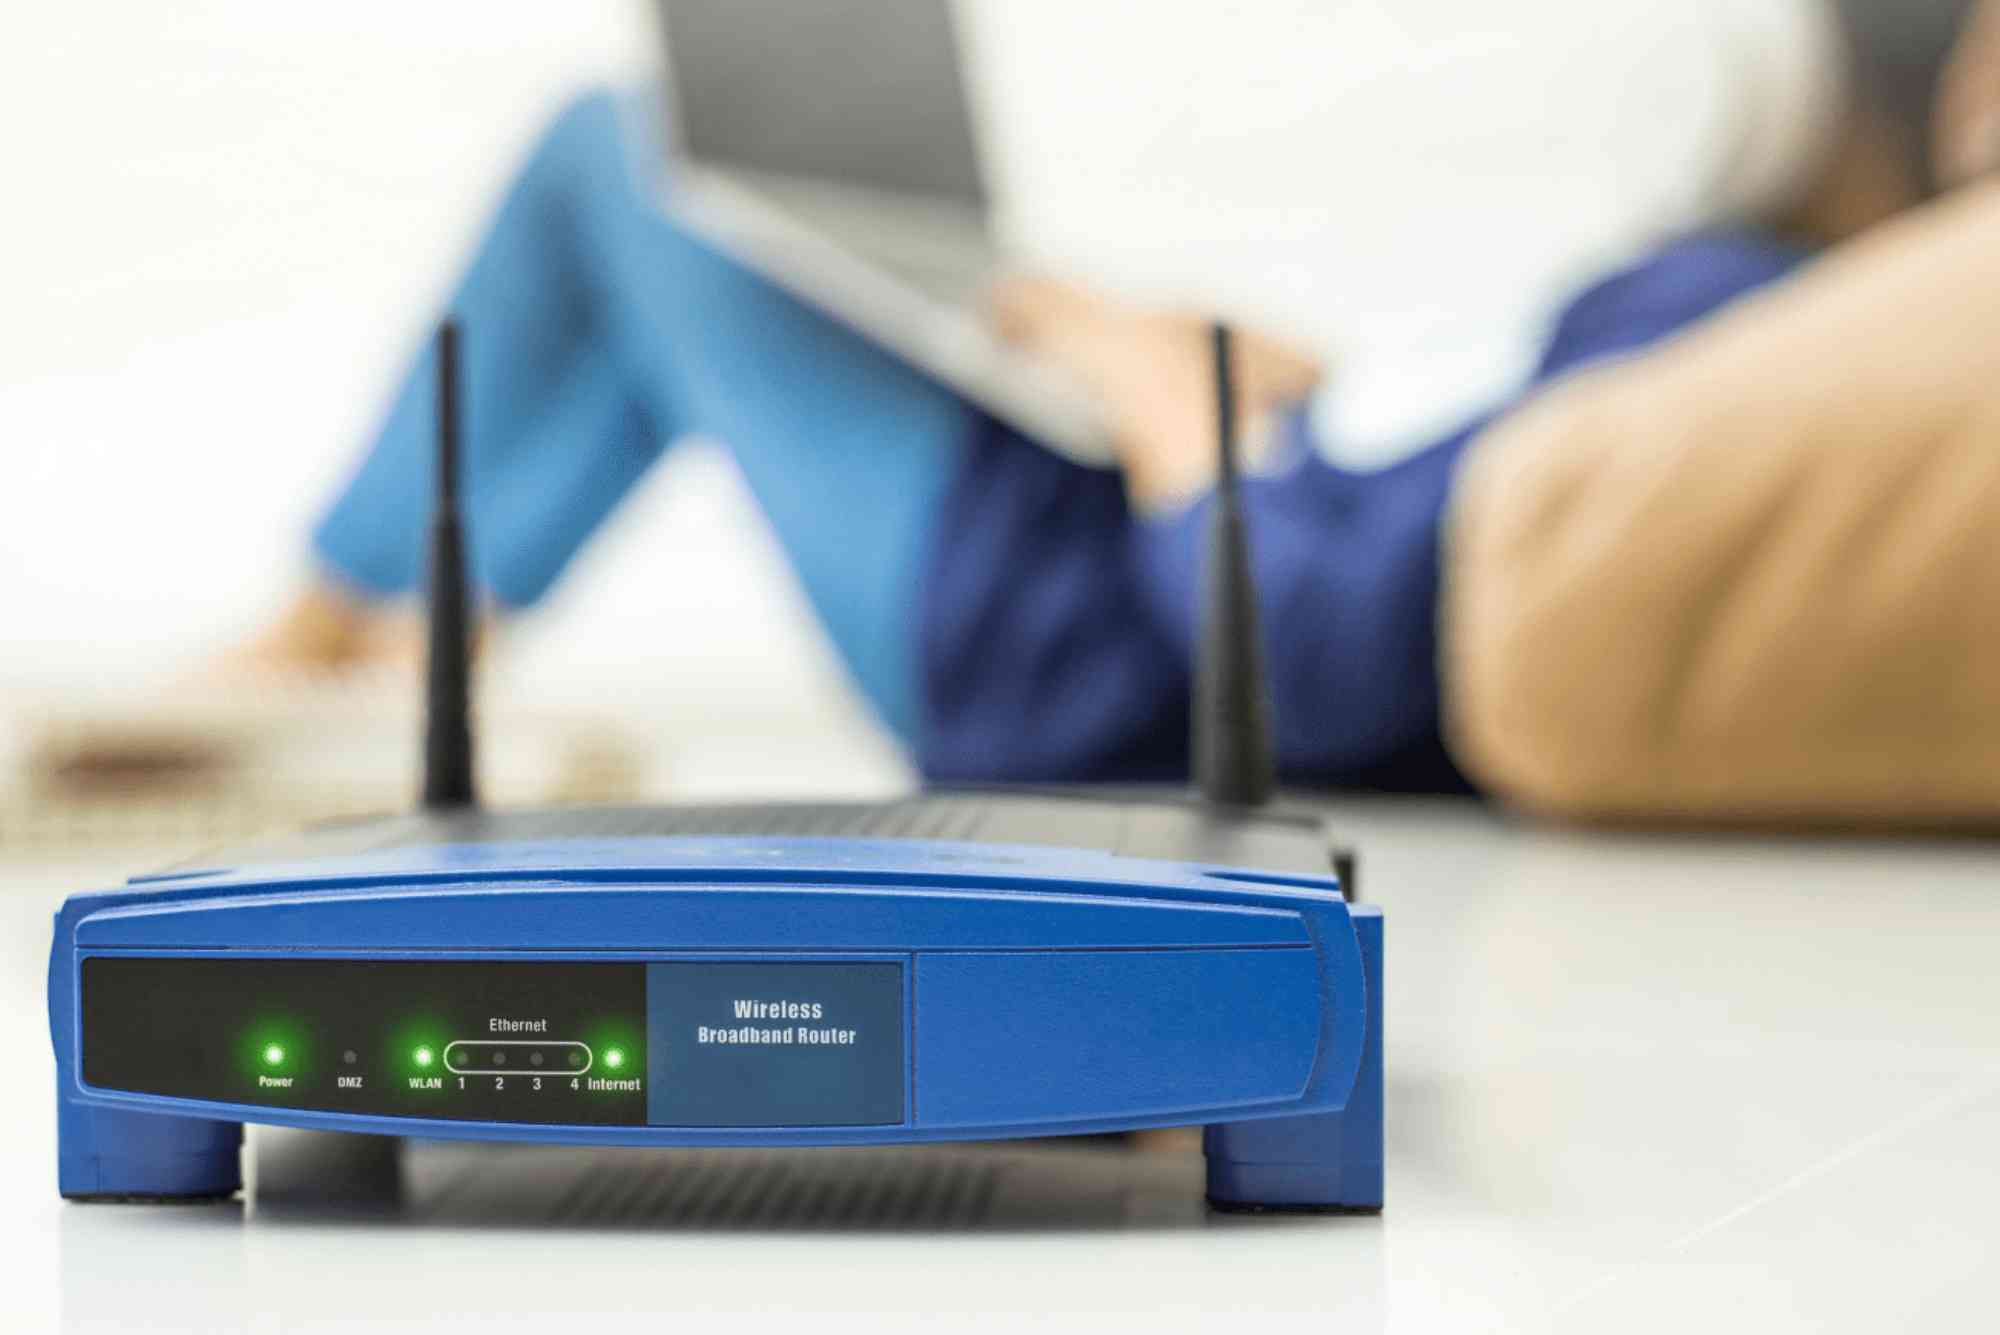
What Do the LED Lights on Your Range Extender Mean?
Wi-Fi range extenders have become essential for improving wireless coverage in homes and offices. But understanding the LED indicators on your device can be confusing. These small lights communicate your extender’s status, connectivity, and potential issues. Knowing what each LED light means can save time, prevent frustration, and ensure your network performs at its best. In this guide, we’ll explain Wi-Fi range extender LED lights meanings in detail.
Understanding Your Range Extender LEDs
LED lights on a Wi-Fi range extender serve as quick indicators of the device’s current state. While models may vary, most extenders follow similar patterns. These lights help you identify issues, confirm successful connections, and ensure your device is functioning correctly.
Power LED
The Power LED is the first light to check when your extender is powered on.
-
Solid Green: The extender is powered on and functioning normally.
-
Blinking Green: The device is booting up or undergoing a firmware update.
-
Off: There may be a power issue; check the outlet or the power cable.
The Power LED confirms that your extender is ready to communicate with your router and devices.
Signal/Connection LED
This LED shows the strength of the connection between your extender and the router.
-
Green Light: Strong connection; your extender is operating optimally.
-
Amber/Orange Light: Moderate connection; performance may be slower than expected.
-
Red Light: Weak or no connection; consider moving the extender closer to the router.
Placing your extender in a location with a strong signal helps maintain stable internet speeds.
WPS LED
Wi-Fi Protected Setup (WPS) is a convenient way to connect devices without entering passwords.
-
Blinking Light: WPS pairing is in progress.
-
Solid Light: WPS connection is successful.
-
Off: WPS is not active.
Using WPS can simplify setup, especially if you want a quick connection without entering complex credentials.
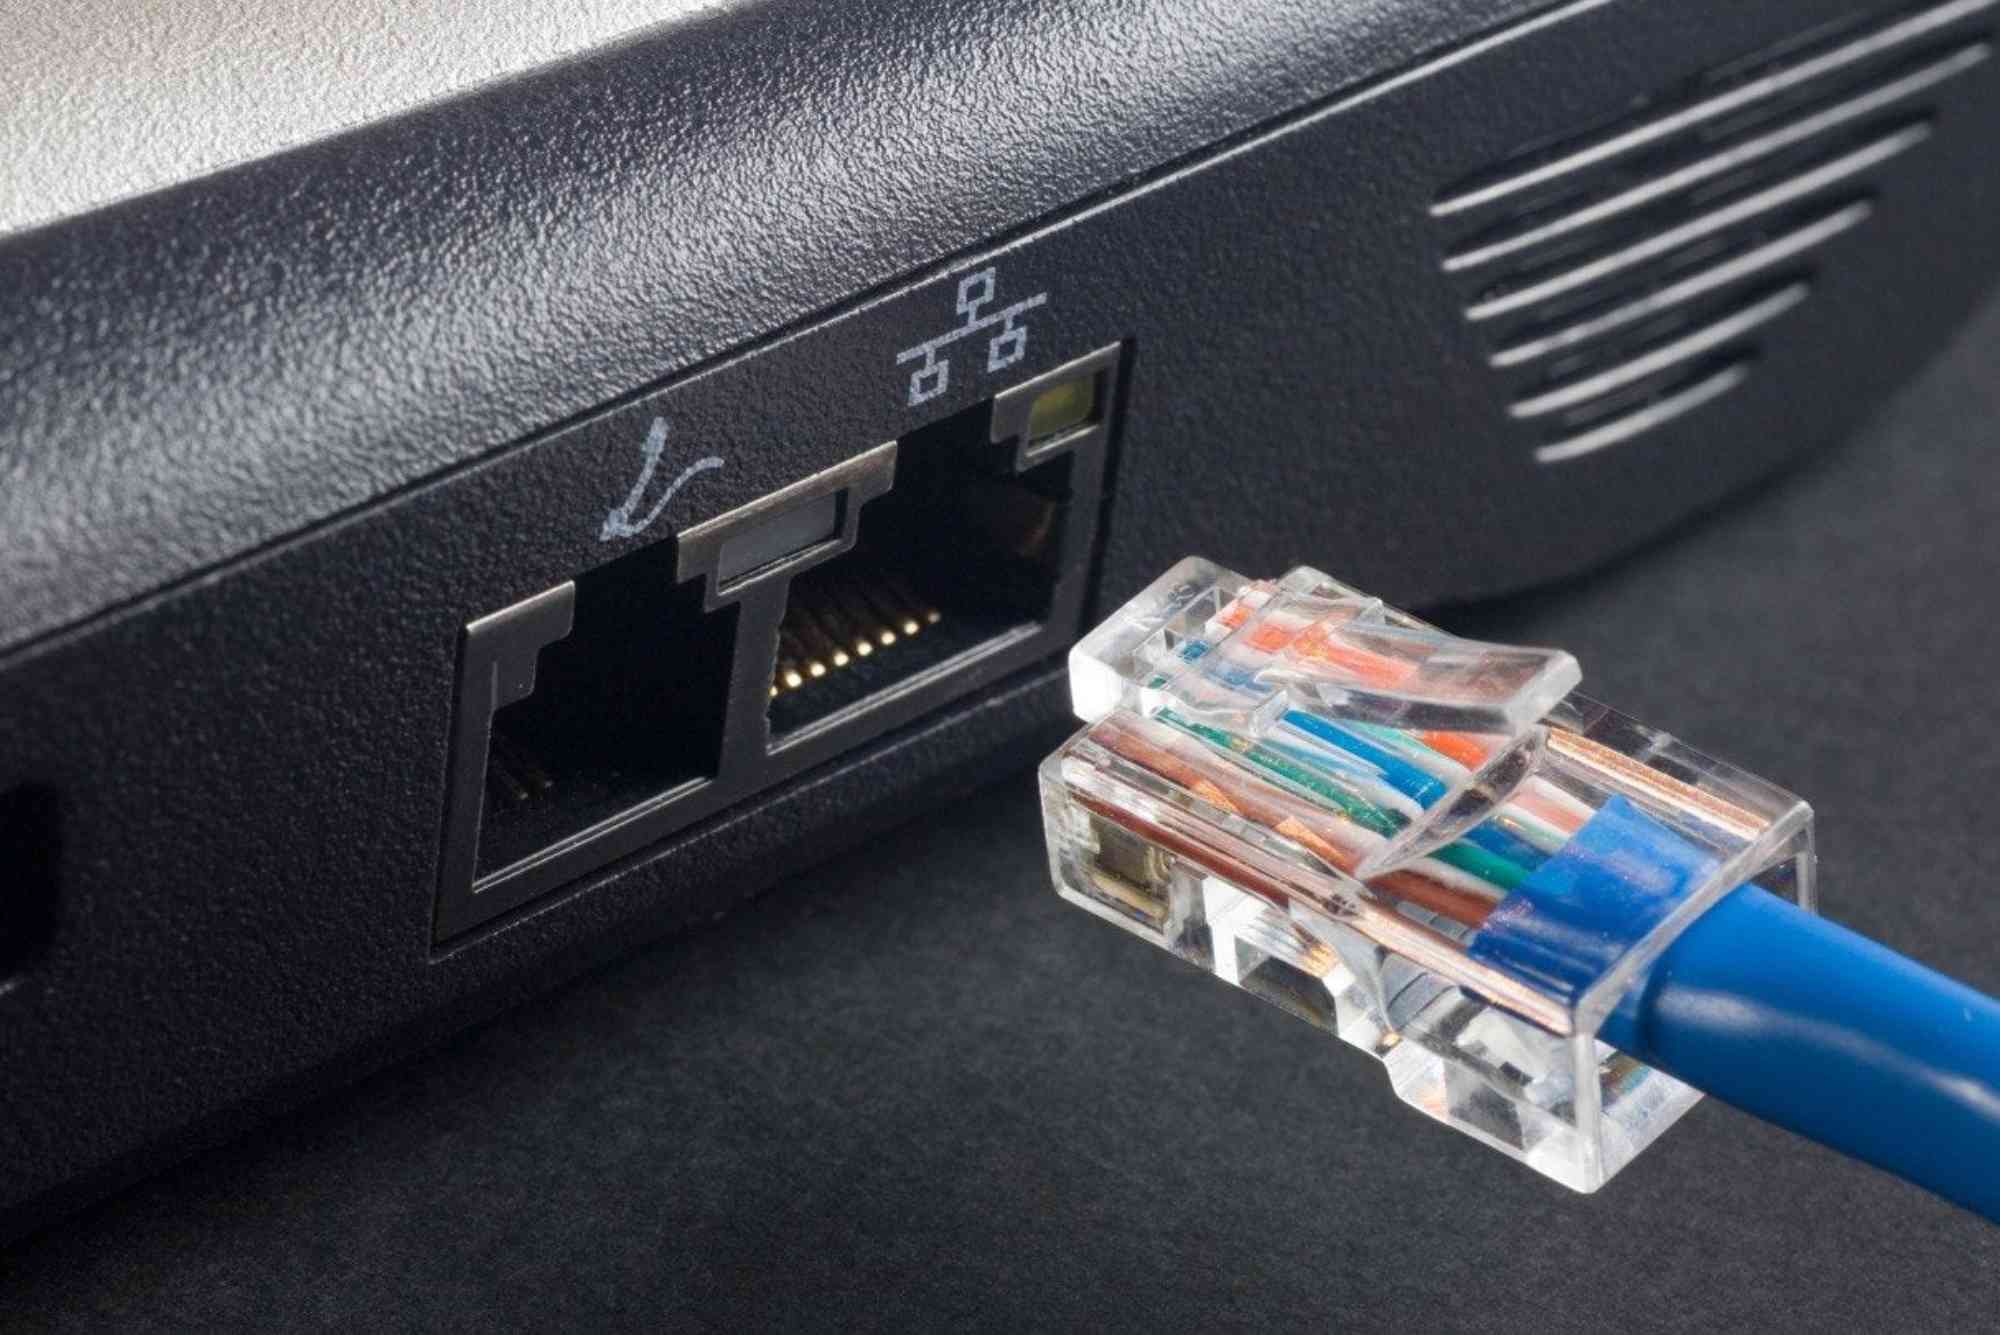
Ethernet/Network LED
Some extenders feature an Ethernet port for wired connections. The LED indicates port activity:
-
Solid Light: Device is connected via Ethernet.
-
Blinking Light: Data is being transmitted through the wired connection.
-
Off: No connection detected.
A wired connection often provides a faster, more stable internet experience than Wi-Fi.
Error or Alert LED
Some range extenders include a separate LED for errors or alerts.
-
Blinking Red: Device firmware needs updating, or there is a hardware issue.
-
Amber/Yellow: Connection is unstable or interference is detected.
Regularly checking this LED can prevent extended downtime and maintain network reliability.
Tips for Interpreting LED Patterns
Interpreting LED lights can sometimes be tricky. Here are tips to read them effectively:
-
Consult your extender’s user manual; LED meanings can differ by brand.
-
Observe multiple LEDs together; a combination often indicates a specific issue.
-
Keep the extender away from walls or large metal objects that can block signals.
-
Ensure firmware updates are applied to prevent malfunctions indicated by error LEDs.
Common Problems and LED Indicators
Knowing Wi-Fi range extender LED lights meanings can help diagnose common issues quickly.
Weak Signal Issues
-
Amber or red signal LEDs often indicate distance issues.
-
Solution: Move the extender closer to the router for a stronger connection.
Connection Drops
-
Blinking Power or Network LEDs can signal unstable connections.
-
Solution: Check cables, restart devices, and verify settings.
Setup Problems
-
WPS LED not blinking may indicate pairing failure.
-
Solution: Reset the extender and try WPS or manual configuration again.
Optimizing Extender Placement
Placement plays a crucial role in LED indicators and overall performance.
-
Position the extender midway between the router and devices.
-
Avoid corners, thick walls, and large electronic devices.
-
Use the signal LED to find the optimal spot for maximum coverage.
Proper placement ensures your LEDs show a strong connection and helps your devices enjoy consistent speeds.
External Resources for Extender Support
For more details on troubleshooting Wi-Fi extenders, you can refer to manufacturer guides such as TP-Link Extender Support and Netgear Extender Setup. These resources provide model-specific instructions for understanding LED lights.
Understanding Wi-Fi range extender LED lights meanings empowers you to troubleshoot issues quickly and maintain reliable internet coverage. By learning what each LED indicates, optimizing placement, and performing timely updates, you can enhance your home or office network effortlessly.
If your extender LEDs indicate issues you can’t resolve, consult a professional service for assistance. For expert guidance, contact Dhanote Internet Services to ensure your network stays strong and reliable.
FAQs About Wi-Fi Range Extender LED Lights
What do red LEDs on my range extender mean?
Red LEDs typically indicate power or signal issues. Check your power source and router connection.
How do I know if my extender is properly connected?
Look for solid green lights on the power and signal LEDs. Blinking WPS lights may indicate pairing in progress.
Can I use my extender if LEDs are yellow?
Yes, but yellow indicates moderate signal strength. Expect slower speeds in areas with poor coverage.
Why is the WPS LED blinking but not connecting?
Blinking WPS LEDs mean pairing mode is active. Press the WPS button on your router within 2 minutes.
How can I reset my range extender LED lights?
Hold the reset button for 10–15 seconds until the power LED blinks, indicating the device is restarting.