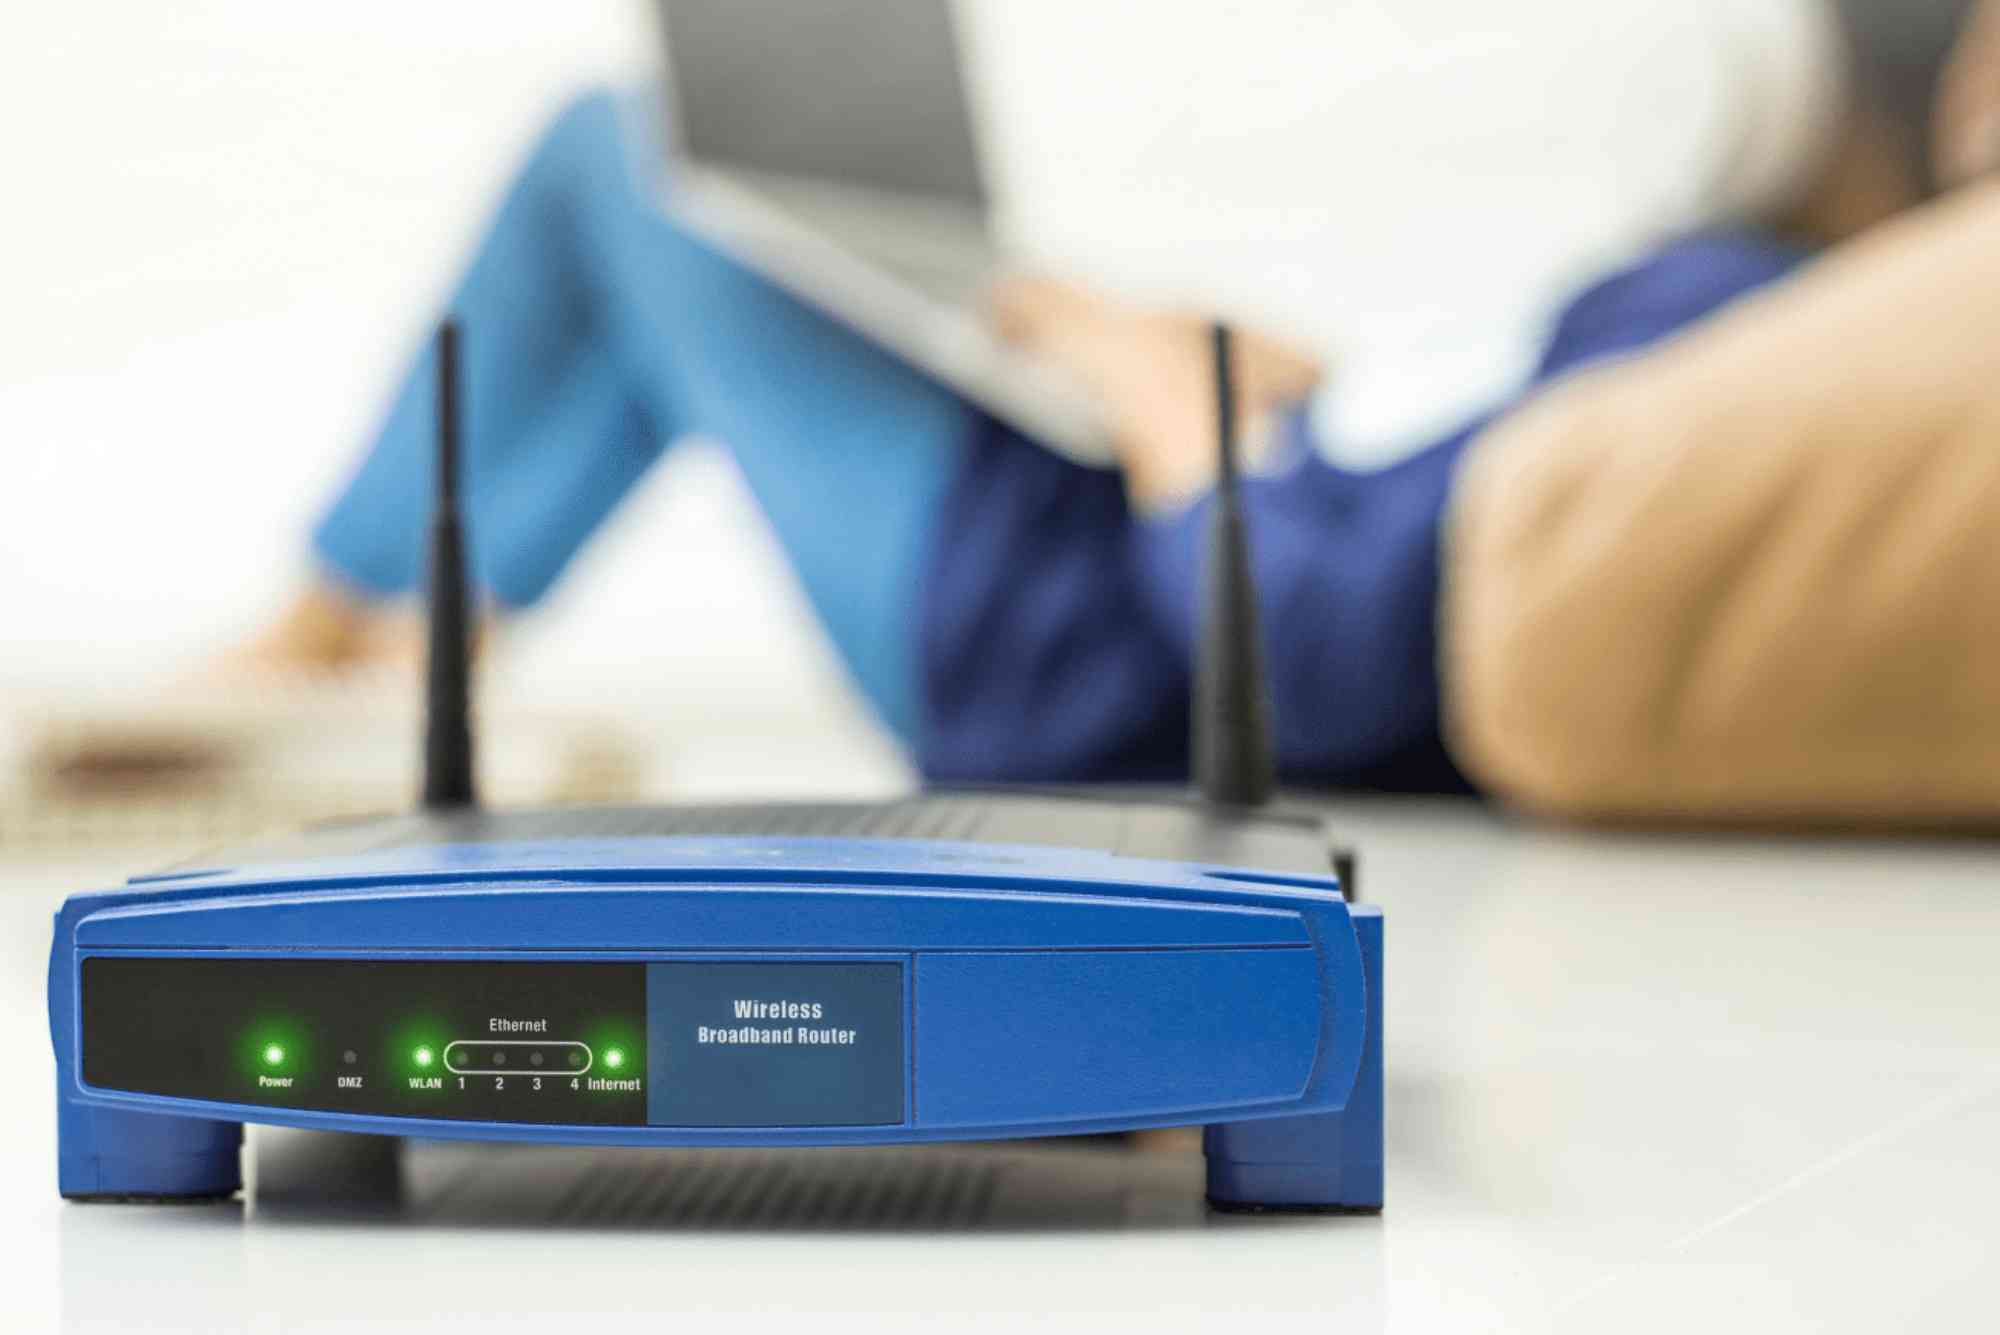
How to Test Signal Strength in Mesh Wi-Fi Systems
A strong internet connection depends on more than just your internet plan. With the rise of smart homes, remote work, and multiple connected devices, mesh Wi-Fi systems have become the go-to solution for consistent coverage. But even with mesh, weak spots can appear. That’s where a mesh Wi-Fi signal strength test becomes essential.
In this guide, you’ll learn why testing matters, the best tools to use, and step-by-step methods to optimize your network.
Why You Need a Mesh Wi-Fi Signal Strength Test
Mesh Wi-Fi networks spread coverage through multiple nodes, eliminating dead zones. However, obstacles like walls, furniture, and even other electronics can weaken the signal. Running a mesh Wi-Fi signal strength test helps you:
-
Identify dead zones in your home or office.
-
Place nodes in optimal locations.
-
Troubleshoot slow connections.
-
Ensure you’re getting the speeds you pay for.
Regular testing ensures reliable streaming, gaming, and video calls without frustrating drops.
Tools for Mesh Wi-Fi Signal Strength Testing
Wi-Fi Analyzer Apps
Apps like NetSpot, WiFi Analyzer (Windows), and WiFi Explorer (Mac) provide heatmaps and real-time signal readings. These are great for visual learners who want to see coverage clearly.
Router Management Apps
Most mesh systems, such as Google Nest WiFi, TP-Link Deco, or Eero, have built-in apps. They often include network diagnostics and a simple signal strength test.
Built-in Device Tools
Smartphones, laptops, and even smart TVs can show signal bars. While less precise, they’re useful for quick checks.
Speed Testing Websites
Sites like Speedtest.net show download, upload, and latency results. Running them at different spots in your home reveals weak zones.
How to Perform a Mesh Wi-Fi Signal Strength Test
Walk Through Your Home
Start with your primary router location. Open a Wi-Fi analyzer app on your phone or laptop. Walk slowly through your home, checking each room for signal consistency.
Measure RSSI Values
RSSI (Received Signal Strength Indicator) is measured in dBm. Closer to 0 means better signal.
-
-30 to -50 dBm: Excellent
-
-50 to -70 dBm: Good
-
-70 to -90 dBm: Weak, expect issues
Test Near Obstacles
Walls, microwaves, and large appliances block signals. Stand near them to see how your mesh system handles interference.
Run Multiple Speed Tests
Perform speed tests at different times of the day. This accounts for network congestion from neighbors or peak hours.
Check Node Backhaul Connection
Some mesh systems use wireless backhaul, while others allow Ethernet. Testing signal strength at the node itself helps confirm if the backhaul is stable.
Optimizing Mesh Wi-Fi Based on Signal Test Results
Reposition Mesh Nodes
If you find a dead zone, move the nearest node slightly closer to the main router. Aim for a balance between overlap and coverage.
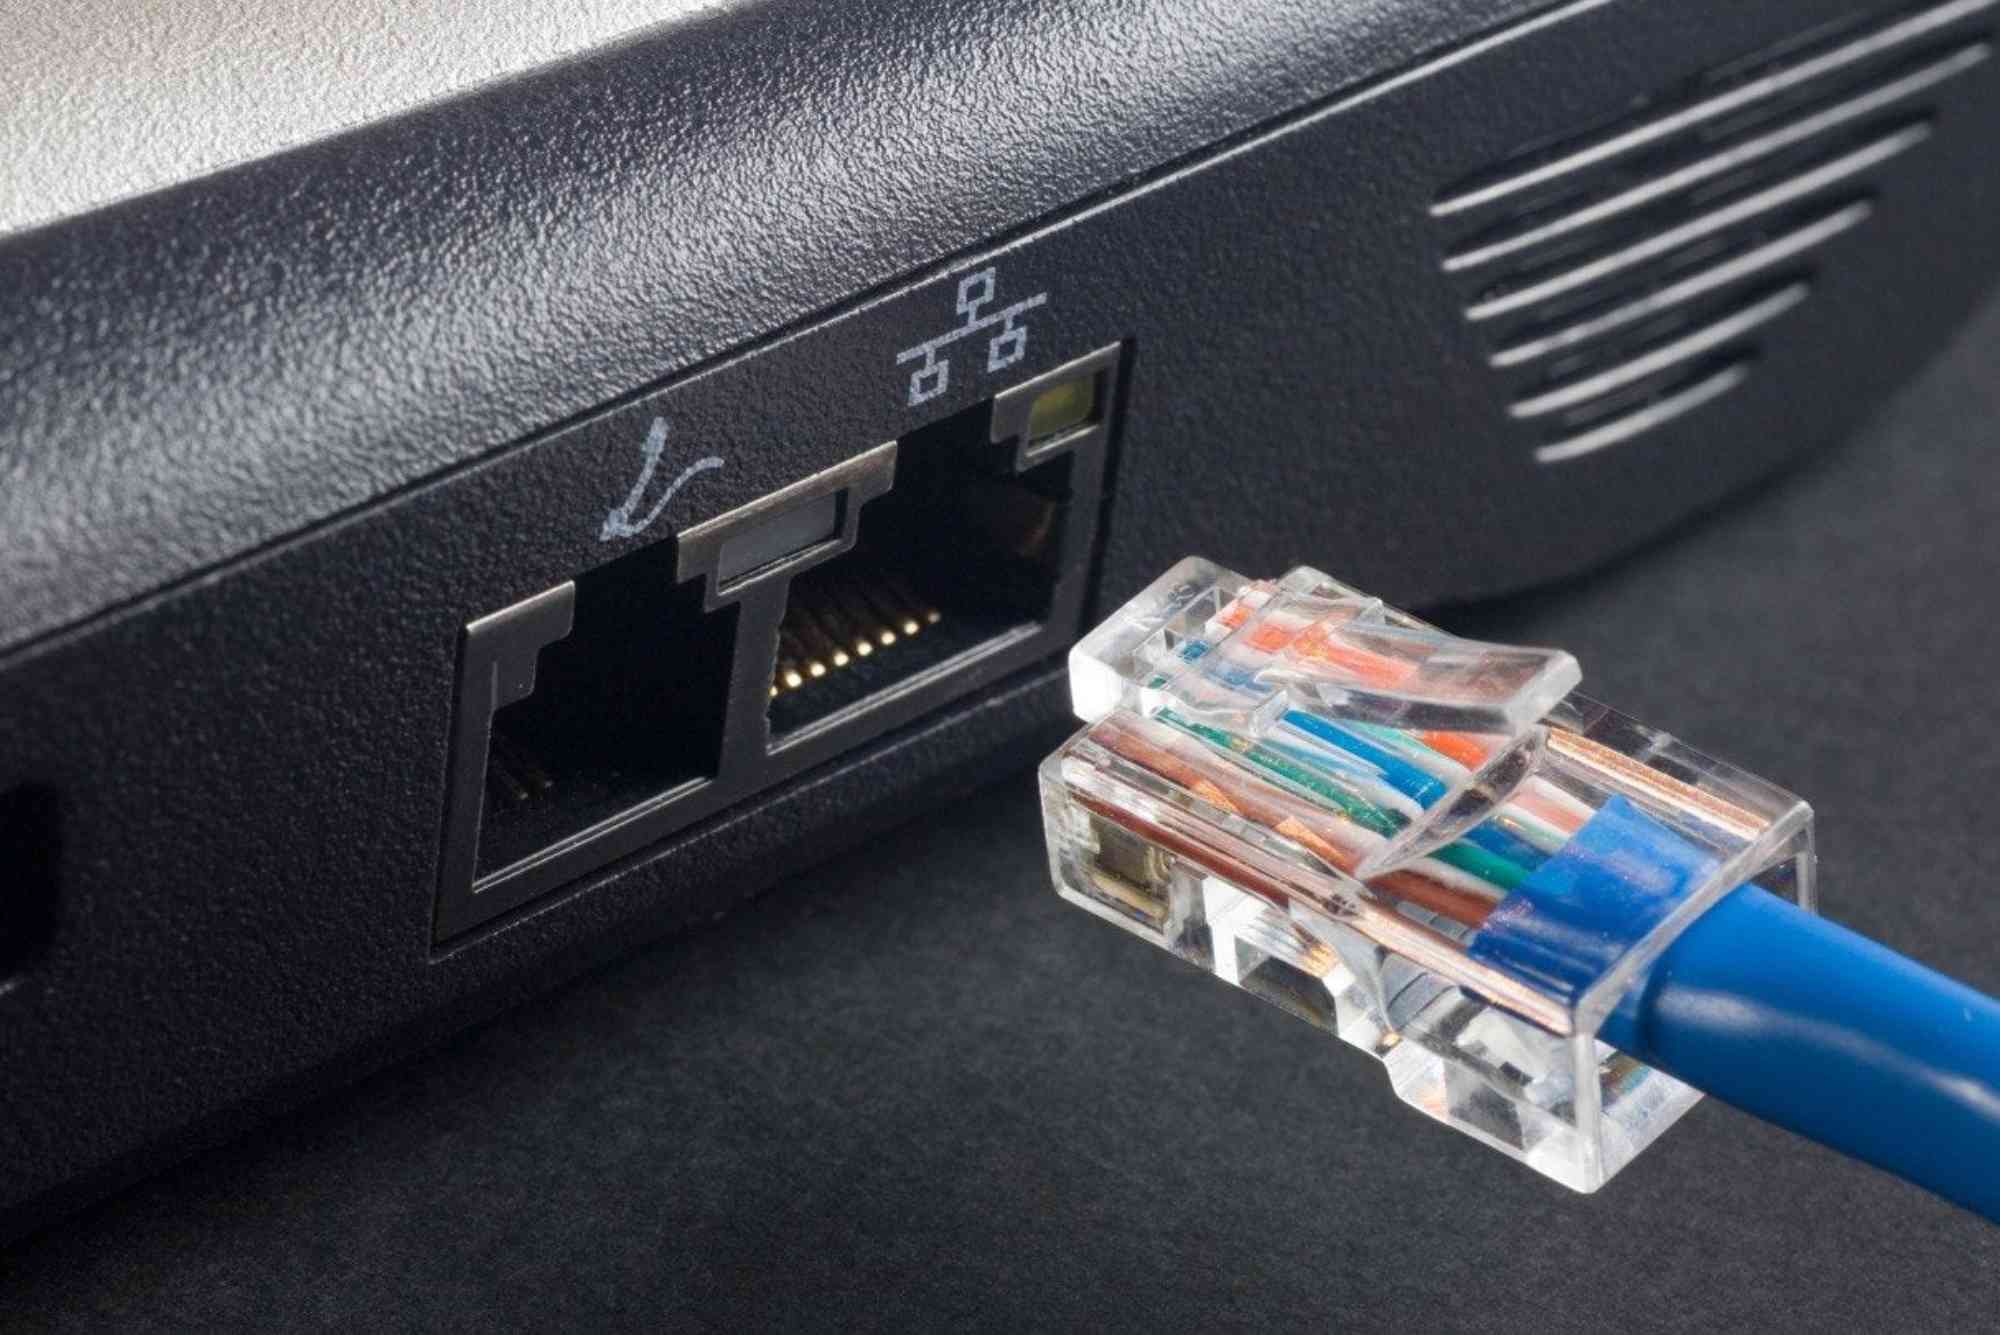
Use Wired Backhaul
Whenever possible, connect your mesh nodes via Ethernet. This reduces dependency on wireless hops and ensures stronger performance.
Adjust Channel Settings
Interference from neighbors’ Wi-Fi can cause weak signals. Use your mesh app or a Wi-Fi analyzer to pick the least crowded channel.
Update Firmware Regularly
Manufacturers release firmware updates that improve performance and fix bugs. Always keep your mesh system updated.
Advanced Mesh Wi-Fi Signal Strength Testing
Heatmap Surveys
Use professional tools like Ekahau or NetSpot Pro to generate a full-color heatmap of your network. This is especially useful in large homes or offices.
Latency & Jitter Testing
Beyond speed, test ping stability and jitter. These metrics matter for gaming and video calls. High jitter usually signals poor mesh performance.
Multi-Device Testing
Run tests with multiple devices connected at once. Mesh systems should handle traffic smoothly, but some fail under load.
Common Mistakes When Testing Mesh Wi-Fi Signal Strength
-
Relying on Signal Bars Alone: They don’t provide accurate dBm readings.
-
Testing Only Once: Conditions vary during the day; test multiple times.
-
Ignoring Upload Speeds: Many people test only downloads, but uploads matter for remote work and video calls.
-
Placing Nodes Too Far Apart: This creates weak backhaul connections, leading to poor coverage.
Benefits of Regular Mesh Wi-Fi Signal Strength Testing
-
Smooth streaming and gaming.
-
Stable video calls for work or school.
-
Strong smart home device connections.
-
Fewer complaints from family or team members about “slow Wi-Fi.”
By making testing a routine habit, you’ll always know if your network is running at its best.
FAQs on Mesh Wi-Fi Signal Strength Test
How do I know if my mesh Wi-Fi is working properly?
Check coverage in every room. If you can stream or browse smoothly without drops, your mesh is performing well.
What is a good signal strength for Wi-Fi?
A signal of -50 dBm or better is strong. Anything below -70 dBm may cause problems.
Can I test mesh Wi-Fi with just my phone?
Yes. Many apps and built-in diagnostics let you measure signal strength using only your smartphone.
Why is my mesh Wi-Fi still slow after testing?
It could be due to ISP issues, outdated firmware, or heavy interference from nearby networks.
How often should I run a mesh Wi-Fi signal strength test?
Run tests every few months, or whenever you rearrange furniture, add devices, or notice slower speeds.
Keep Your Mesh Wi-Fi Strong
A mesh Wi-Fi signal strength test is the easiest way to ensure your internet performs at its best. From simple phone apps to advanced heatmaps, the right tools can help you pinpoint weak spots and fix them.
If you’re tired of buffering videos or dropped Zoom calls, now is the time to test your network. Reliable service providers like Dhanote Internet Services can also help ensure you’re starting with a stable internet connection before optimizing your mesh.
Take action today—run a mesh Wi-Fi signal strength test and enjoy seamless connectivity everywhere in your home.