How to Place Mesh Wi‑Fi Nodes for Best Coverage
If you want strong, consistent Internet in every corner of your home or office, understanding the ideal positioning of mesh Wi-Fi nodes is key. Mesh systems can eliminate annoying dead zones and buffering, but only if you place them thoughtfully. In this guide, I’ll walk you through where and how to put your mesh nodes for the best coverage, minimal interference, and maximum speed. By the end, you’ll know how to get solid Wi-Fi everywhere — from the kitchen to the bedroom — just like a network pro.
Why Placement Matters
The Role of Mesh Nodes in Wi-Fi Coverage
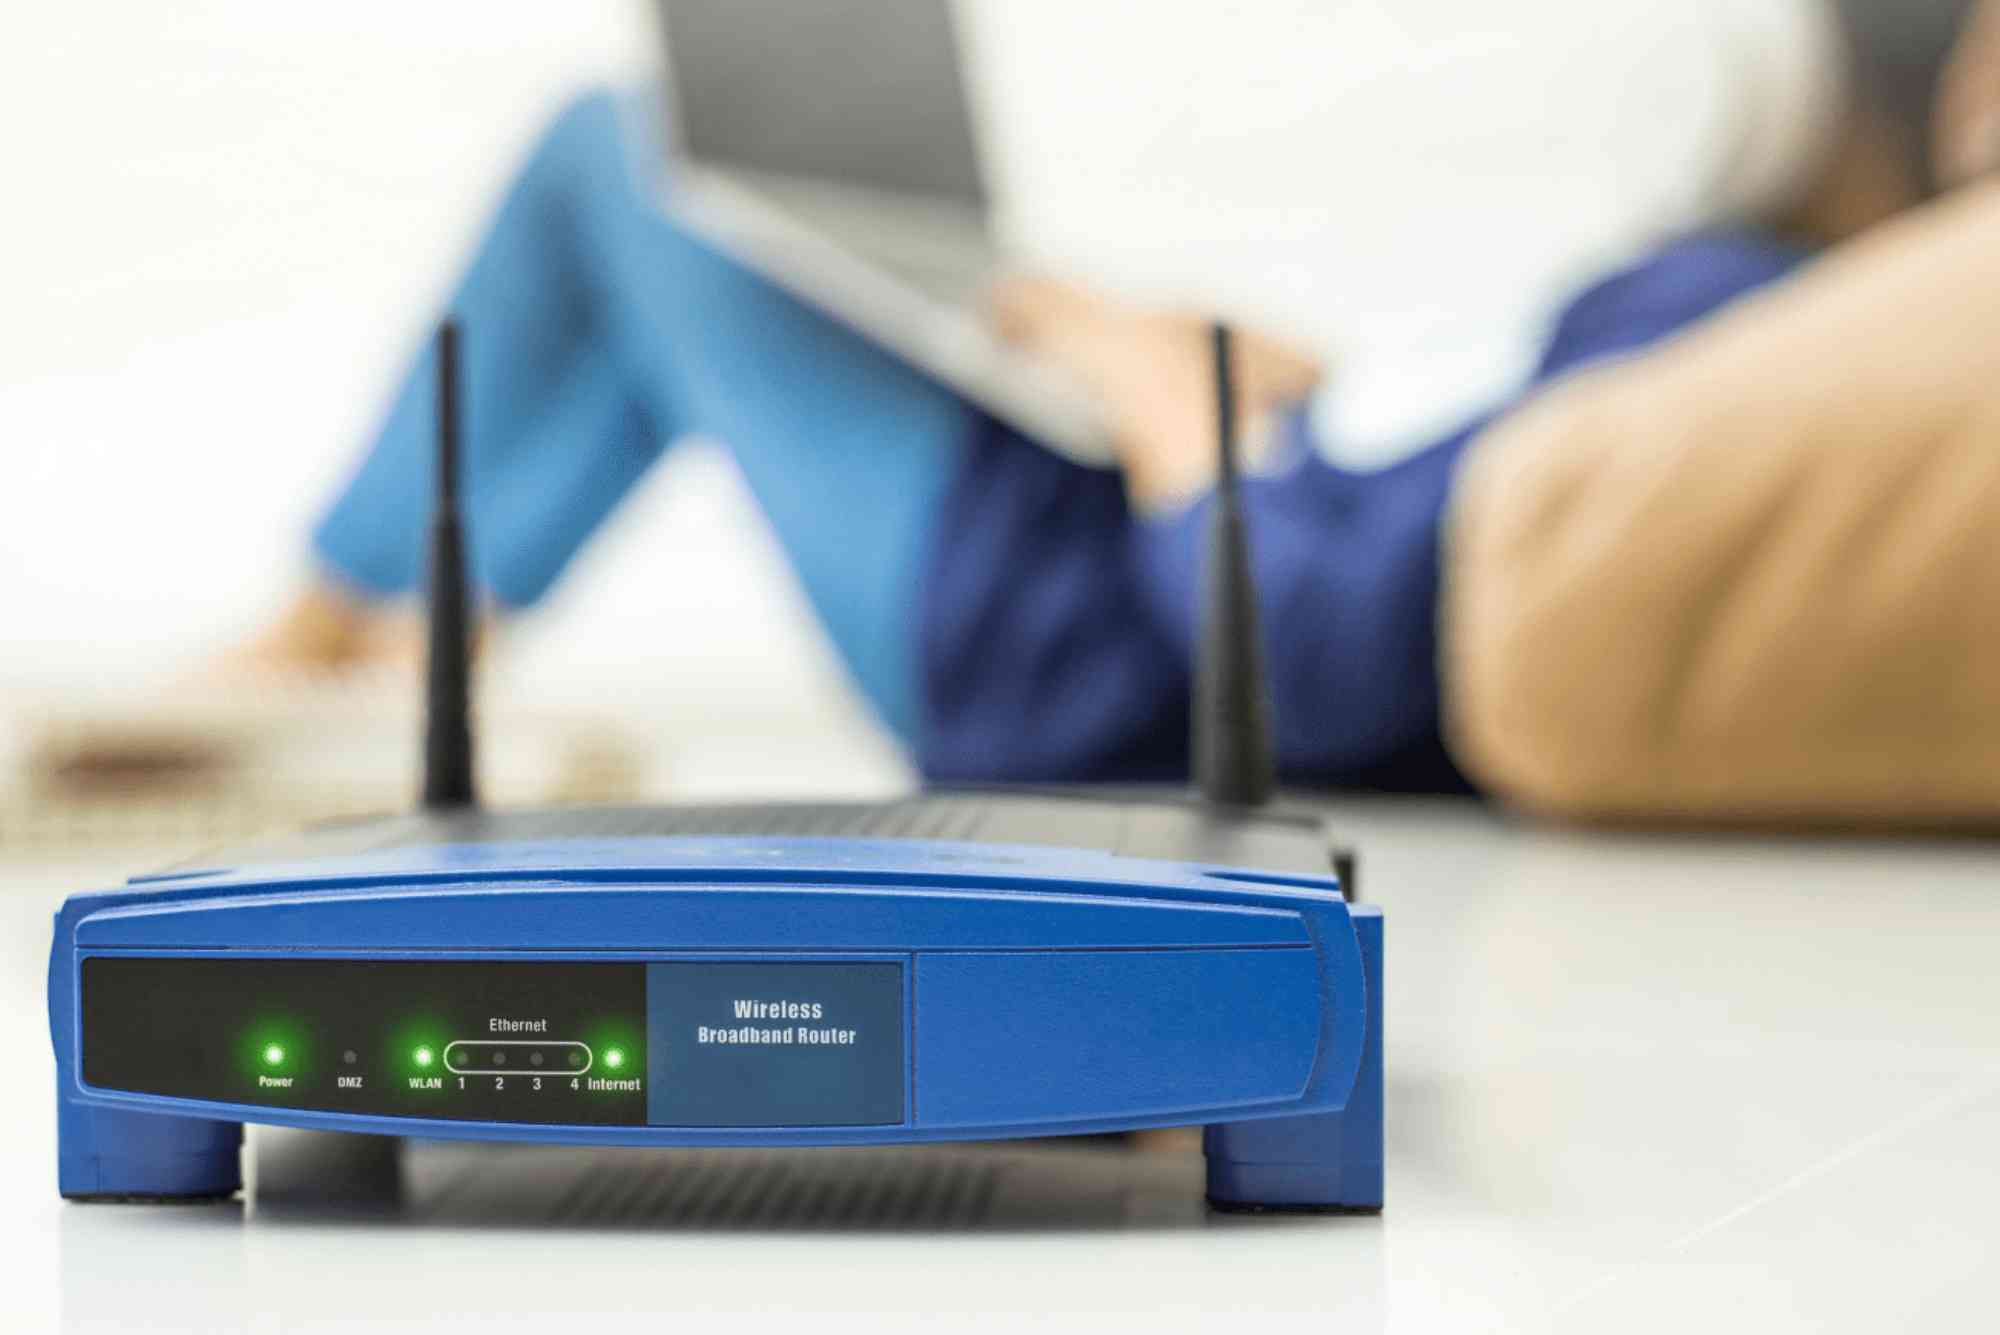
A mesh Wi‑Fi system uses multiple nodes to spread your wireless signal evenly. Each node acts like a mini-router and helps share Internet from your main router. If you place nodes too far apart, the signal between them weakens. Too close, and you waste resources without expanding coverage. Proper positioning assures coverage, speed, and reliable connection.
How Building Layout Affects Signal Travel
Walls, floors, furniture, appliances — all influence signal strength. Materials like concrete, brick, metal, or thick wood can block or absorb Wi‑Fi signals. Even water (like fish tanks or water heaters) can interfere. Knowing how your space’s layout interacts with radio waves helps you place nodes smartly.
How to Find Your Ideal Positions
Map Your Space Before Installing
Sketch or Visualize Your Home Layout
Draw a simple map of your home or apartment. Mark rooms, walls, floors, and major obstructions. Include thick walls, corridors, stairs, and metal fixtures. This map will guide where each node goes for balanced coverage.
Identify Dead Zones and High‑Usage Areas
Think about where you need the strongest Wi-Fi: living room, bedroom, office, gaming area, streaming zone. Also note weak spots — rooms where signal is poor. These are likely locations for mesh nodes.
Follow General Positioning Principles
Keep Nodes Within Range of Each Other
For smooth communication, mesh nodes must be close enough. As a rule of thumb, place additional nodes roughly halfway between the router and the farthest device you want to cover. If the distance becomes too long, signals degrade.
Aim for Central, Elevated Spots
Central placement helps each node distribute signal more evenly. Elevation also works well — try shelves, high furniture, or wall mounts. Avoid placing nodes on the floor where furniture or people can block signal.
Avoid Interference Sources
Don’t hide nodes behind thick walls, inside cabinets, or near metal objects, microwaves, cordless phone bases, or large water containers. These can block or reflect signals and reduce performance.
Adapt Positioning Based on Home Type
Small Apartment or Single Floor
In a compact space, you may need just one additional node, placed opposite the router but within line of sight. A central, elevated position often gives coverage everywhere.
Multi‑Floor Homes
Place one node on each floor, aligning roughly vertically. Try to position them near the staircase or central area. This ensures signals move smoothly between levels.
Houses with Irregular Layouts
If walls are thick or rooms are oddly shaped, you may need more nodes. Test signal strength as you add nodes, and consider small directional adjustments to maximize coverage.
Best Practices
Place Router First
Start by placing your main router in a central, elevated, open location. Avoid corners, closets, or behind large furniture. A central location helps distribute signal uniformly.
Add the First Mesh Node
With router in place, add one mesh node roughly halfway to the farthest part of your space. Ensure there are no major obstacles between router and node. Power it up and wait until it connects properly.
Test Signal Strength & Coverage
Walk around your space with a smartphone or laptop. Note where signal drops or Wi‑Fi slows. Use a Wi-Fi analyzer app for precise insight. Mark those weak areas.
Add More Nodes as Needed
For each weak zone, place a new node roughly halfway from the nearest active node. Keep in mind range and obstacles. Repeat testing after each addition.
Fine‑Tune for Performance
Once all nodes are active, adjust positions slightly to avoid interference and improve stability. Even moving a node a foot or two can significantly affect performance.
Practical Tips for Better Coverage
Use Mesh Node LEDs or Signal Indicators
Many systems show signal strength via LED lights or apps. Use these indicators during setup to find optimal spots before finalizing placement.
Keep Firmware Updated
Firmware updates often include improvements that enhance mesh behavior and signal stability. Update before you judge coverage quality.
Balance Coverage with Aesthetics
You want strong signal, but you also don’t want to clutter your home. Try placing nodes behind décor, on shelves, or integrated in furniture — as long as signal isn’t blocked.
Avoid Overlapping Coverage Too Much
Avoid placing nodes too close. Overlap of strong signals doesn’t add benefit and can cause interference. Spread nodes to maximize coverage rather than density.
Common Placement Mistakes to Avoid
Placing Nodes on Floors or Behind Furniture
Floor placement often leads to blocked signals. Furniture can absorb or reflect Wi‑Fi waves, especially large wooden or metal pieces.
Isolating a Node Far from Others
A node placed far from any active node may power up but won’t relay a strong signal. It will seem connected but will act like a weak extender.
Clustering All Devices in One Room
Avoid putting router and all nodes in one room. That defeats the purpose of mesh coverage. Each node should serve a different area or direction.
Ignoring Interference from Appliances or Materials
Large metal objects, electronics, water features, or thick concrete absorb Wi‑Fi signals. Placing nodes near them can significantly degrade performance.
Using External Expertise for Setup
If you prefer professional installation or expert advice, companies like Dhanote Internet Services can help design a mesh placement plan suited to your home layout. Their experience with local building materials and environment can make a big difference.
Getting strong Wi‑Fi everywhere isn’t about buying the most expensive mesh system — it’s about ideal positioning of mesh Wi‑Fi nodes. A few strategic tweaks can transform dead zones into fast, reliable signal zones. By mapping your space, placing nodes thoughtfully, testing coverage, and making smart adjustments, you’ll unlock the full potential of your mesh kit. Want better Wi‑Fi now? Grab your mesh pack, sketch your home layout, and start placing those nodes.
FAQs
Where should I place my mesh WiFi router and nodes?
Place your main router centrally and elevated. Add mesh nodes halfway between the router and farthest rooms. Keep nodes away from thick walls, metal, or appliances.
How many mesh nodes does a 2000 sq ft house typically need?
Usually two to three nodes suffice. One router plus two nodes often covers about 1800–2200 sq ft well. Adjust based on layout and wall thickness.
Do mesh WiFi nodes need to have line of sight to each other?
Not strictly, but fewer obstacles between nodes improves connection. Avoid thick walls, metal, or water tanks between nodes for stable performance.
Should mesh WiFi nodes be at the same height?
Yes. Keeping nodes at similar elevation — like on a shelf or wall mount — helps maintain consistent signal strength. Avoid floor placement.
Can I hide mesh nodes behind furniture or inside cabinets?
You can — but avoid solid wood, metal, or thick surfaces that block signal. A small open shelf behind furniture often works better than a closed cabinet.