How to Test Wi-Fi Signal Strength on Any Device
In today’s digital age, a strong and reliable Wi-Fi connection is essential. Whether you’re streaming movies, working from home, or gaming online, weak Wi-Fi can be frustrating. Understanding how to test Wi-Fi signal strength helps you identify issues and optimize your network for peak performance. This guide explains methods for checking signal strength on various devices, tips for improving connectivity, and troubleshooting techniques.
Why Testing Wi-Fi Signal Strength Matters
Knowing your Wi-Fi signal strength allows you to:
-
Ensure fast and stable internet speeds
-
Identify dead zones in your home or office
-
Troubleshoot connectivity issues efficiently
-
Optimize router placement for better coverage
A simple test can save time, frustration, and even money on unnecessary equipment upgrades.
How to Test Wi-Fi Signal Strength on Windows Devices
Windows computers provide built-in tools and third-party options to check Wi-Fi quality.
Using the Taskbar Wi-Fi Icon
-
Click the Wi-Fi icon on your taskbar.
-
Look at the number of bars displayed. More bars indicate a stronger signal.
-
Move around your space to see if signal strength changes.
Using Command Prompt
-
Press
Windows + Rand typecmdto open Command Prompt. -
Type
netsh wlan show interfacesand press Enter. -
Look for the
Signalpercentage. Higher percentages mean stronger Wi-Fi.
Using Third-Party Apps
Tools like NetSpot and inSSIDer provide detailed heat maps and signal analysis. They are especially useful for large spaces or complex networks.
How to Test Wi-Fi Signal Strength on Mac
Mac users can access signal data using built-in utilities.
Using Wi-Fi Status Menu
-
Hold the
Optionkey and click the Wi-Fi icon on the menu bar. -
Check
RSSI(Received Signal Strength Indicator). Values closer to 0 indicate stronger signal.
Using Wireless Diagnostics
-
Press
Command + Spaceand typeWireless Diagnostics. -
Follow the on-screen instructions for performance logs and signal analysis.
These tools help you pinpoint weak spots and adjust your router accordingly.
How to Test Wi-Fi Signal Strength on Smartphones
Mobile devices have simpler methods for testing Wi-Fi strength.
For iPhone
-
Go to
Settings > Wi-Fi. -
Check the Wi-Fi bars next to your network name.
-
For precise data, enable the Wi-Fi Diagnostics tool in
Field Test Mode.
For Android
-
Open
Settings > Network & Internet > Wi-Fi. -
Tap your network to see signal details.
-
Apps like WiFi Analyzer or NetSpot offer advanced analysis.
How to Test Wi-Fi Signal Strength on Tablets
Tablets, whether Android or iPad, follow similar steps as smartphones:
-
Access Wi-Fi settings to check bars or percentages
-
Use diagnostic apps for detailed signal measurement
-
Test in different areas to locate weak spots
Understanding Wi-Fi Signal Strength Values
Wi-Fi signal strength is often measured in dBm or visual bars:
-
-30 dBm to -50 dBm: Excellent signal
-
-50 dBm to -60 dBm: Good signal
-
-60 dBm to -70 dBm: Fair, may cause slow speeds
-
-70 dBm or lower: Weak, unstable connection
Knowing these values helps you make informed decisions about router placement or upgrades.
Tips to Improve Wi-Fi Signal Strength
Even after testing, you may need to boost your signal.
Optimize Router Placement
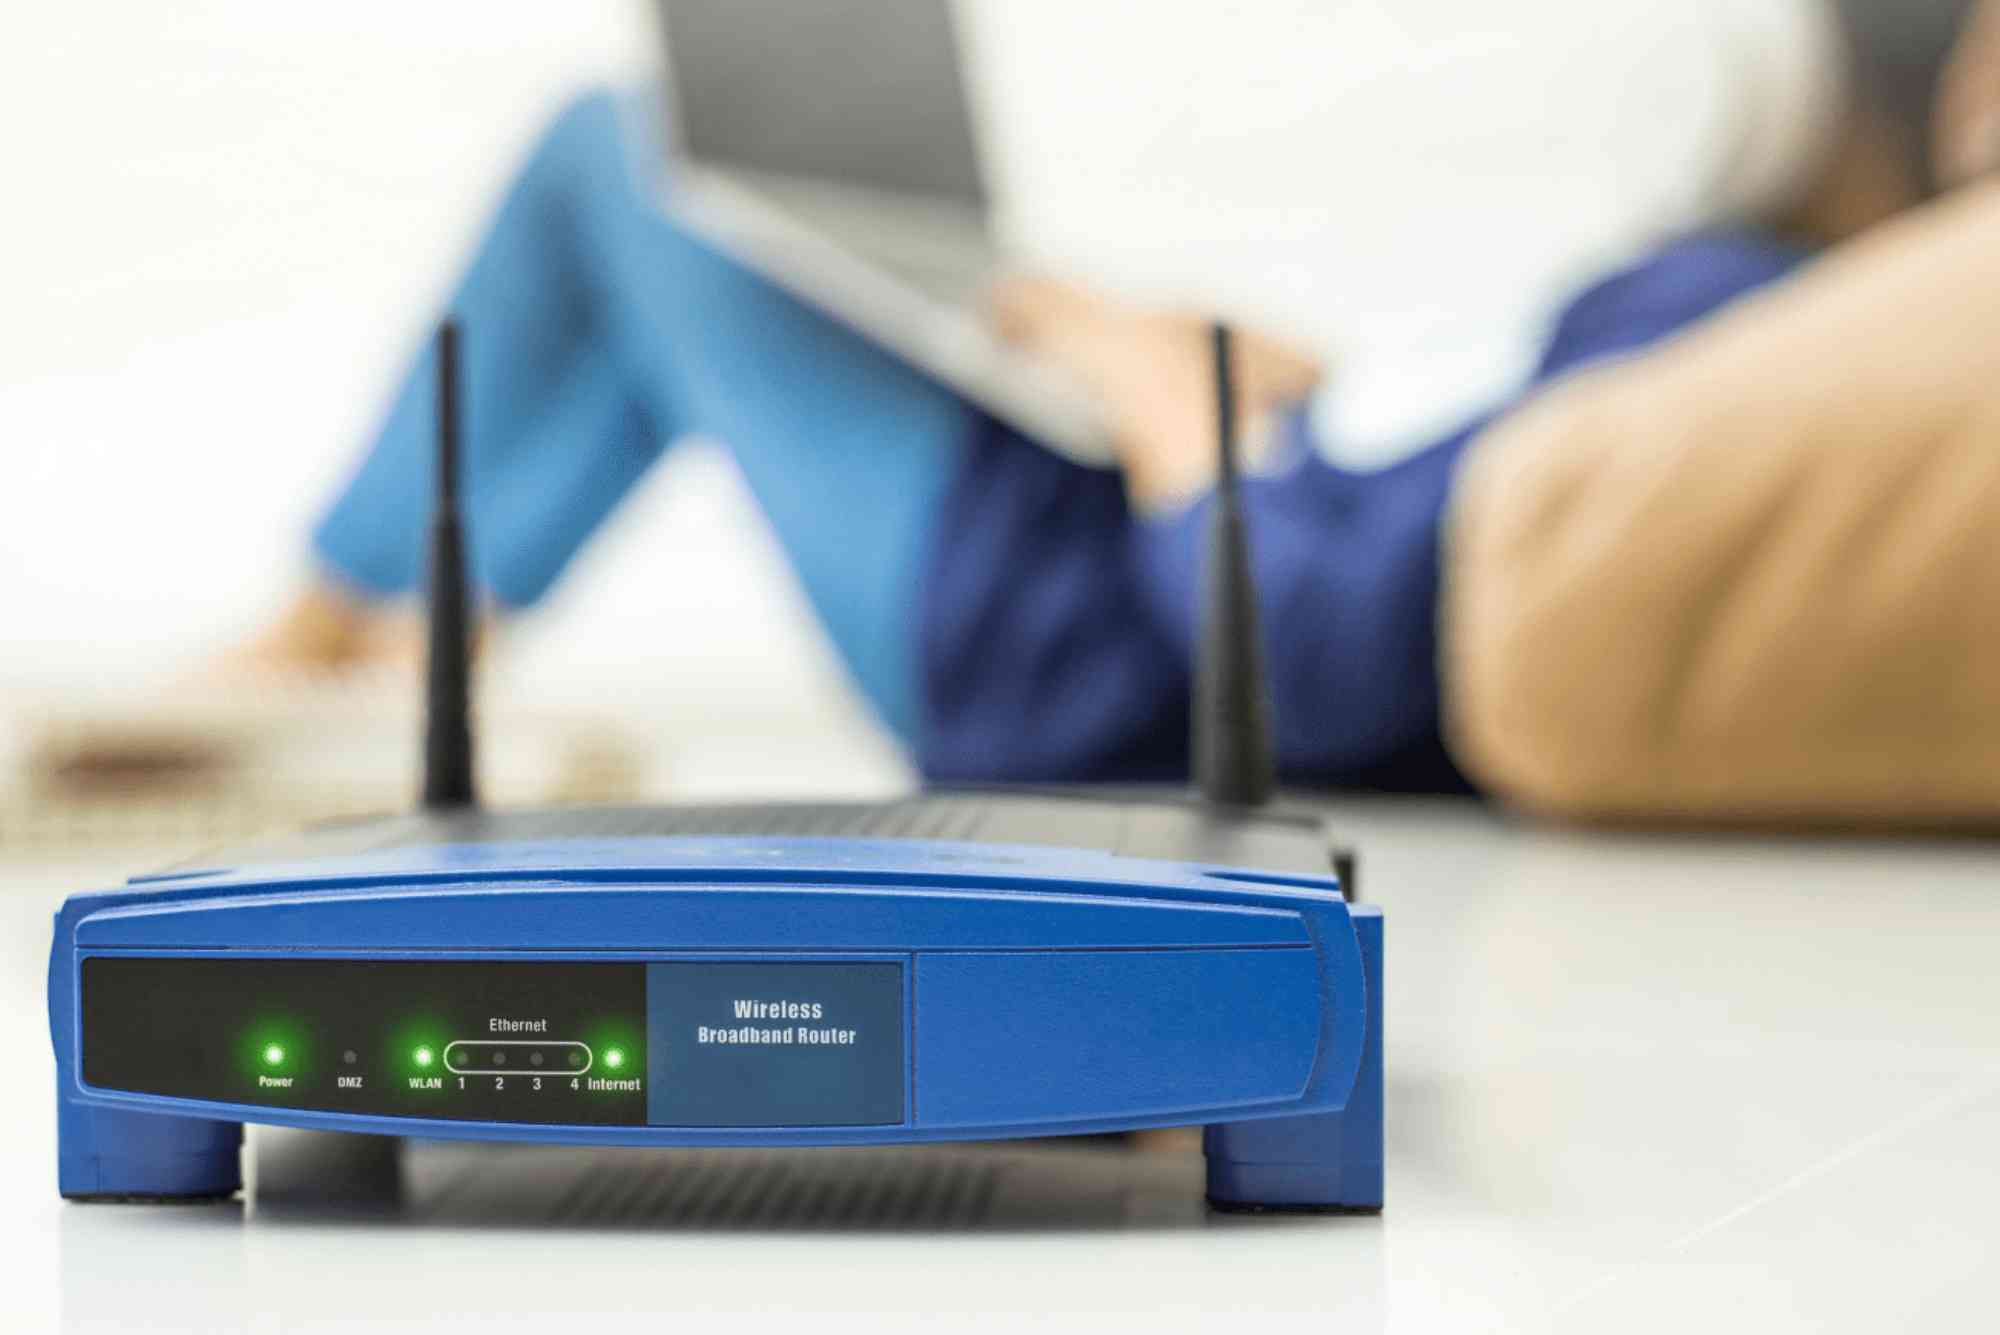
Place your router in a central location, away from walls and metal objects. Dhanote Internet Services Elevate it if possible.
Reduce Interference
Keep devices like microwaves, cordless phones, and Bluetooth gadgets away from the router.
Update Firmware
Router manufacturers release updates that improve performance and stability.
Use Extenders or Mesh Systems
For larger spaces, Wi-Fi extenders or mesh networks ensure strong coverage throughout your home or office.
Secure Your Network
Limit the number of devices connected and use strong passwords to prevent unauthorized access, which can reduce signal quality.
Common Wi-Fi Signal Issues and Fixes
Even with a strong signal, issues may occur.
Slow Speeds
-
Cause: High traffic, old router, or interference
-
Fix: Upgrade your router, limit connected devices, or switch channels
Dead Zones
-
Cause: Obstructions or poor router placement
-
Fix: Move the router or install a Wi-Fi mesh system
Frequent Drops
-
Cause: Weak signal or outdated firmware
-
Fix: Update firmware, reduce interference, or relocate router
How to Test Wi-Fi Signal Strength Online
Several online tools can test speed and quality:
-
Speedtest.net measures download/upload speeds and ping
-
Fast.com offers a simple speed check for Netflix
-
Dhanote Internet Services provides professional Wi-Fi assessments
Using online tests in combination with signal strength measurements ensures accurate results.
Testing Wi-Fi signal strength is crucial for maintaining fast, reliable internet on any device. Using built-in tools, apps, and online resources, you can identify weak spots, improve coverage, and troubleshoot issues. Regularly checking your network ensures seamless browsing, streaming, and gaming experiences.
Take control of your Wi-Fi today. Check your signal strength and optimize your network to enjoy uninterrupted connectivity.
FAQ About Wi-Fi Signal Strength
How do I know if my Wi-Fi signal is weak?
Check the signal bars on your device or use tools like NetSpot. Values below -70 dBm indicate weak signal.
Can Wi-Fi signal strength affect speed?
Yes. Weak signals often result in slower download/upload speeds and frequent drops.
How can I boost Wi-Fi signal at home?
Place your router centrally, reduce interference, update firmware, or use mesh networks for better coverage.
Are there apps to test Wi-Fi signal strength?
Yes. Apps like WiFi Analyzer, NetSpot, and inSSIDer offer detailed signal analysis for various devices.
Does distance affect Wi-Fi strength?
Absolutely. The farther you are from the router, the weaker the signal becomes. Walls and obstacles can worsen this.


