Introduction
If you’re seeing the message DNS_PROBE_FINISHED_NO_INTERNET, you’re not alone. It’s one of the most common internet connectivity issues faced by Windows and Mac users. The good news is that this problem can be solved quickly with a few simple steps.
In this guide, you’ll learn how to fix DNS_PROBE_FINISHED_NO_INTERNET error using practical and proven methods. Whether you’re on Windows 10, Windows 11, or macOS, the following steps will help you get back online smoothly.
What Does DNS_PROBE_FINISHED_NO_INTERNET Mean?
Before fixing the issue, let’s understand what it actually means.
DNS stands for Domain Name System — the technology that translates website names (like google.com) into IP addresses your device understands.
When you see DNS_PROBE_FINISHED_NO_INTERNET, it means your browser tried to access a website but couldn’t reach the DNS server. This can happen due to several reasons:
-
Poor or disconnected internet connection
-
DNS server issues
-
Misconfigured network settings
-
Corrupted cache or outdated drivers
-
Firewall or antivirus blocking DNS requests
Understanding the cause makes troubleshooting much easier. Let’s move on to fixing it step by step.
How to Fix DNS_PROBE_FINISHED_NO_INTERNET Error
You can fix the DNS_PROBE_FINISHED_NO_INTERNET error using several methods. Start with the simplest ones and move toward more advanced fixes if necessary.
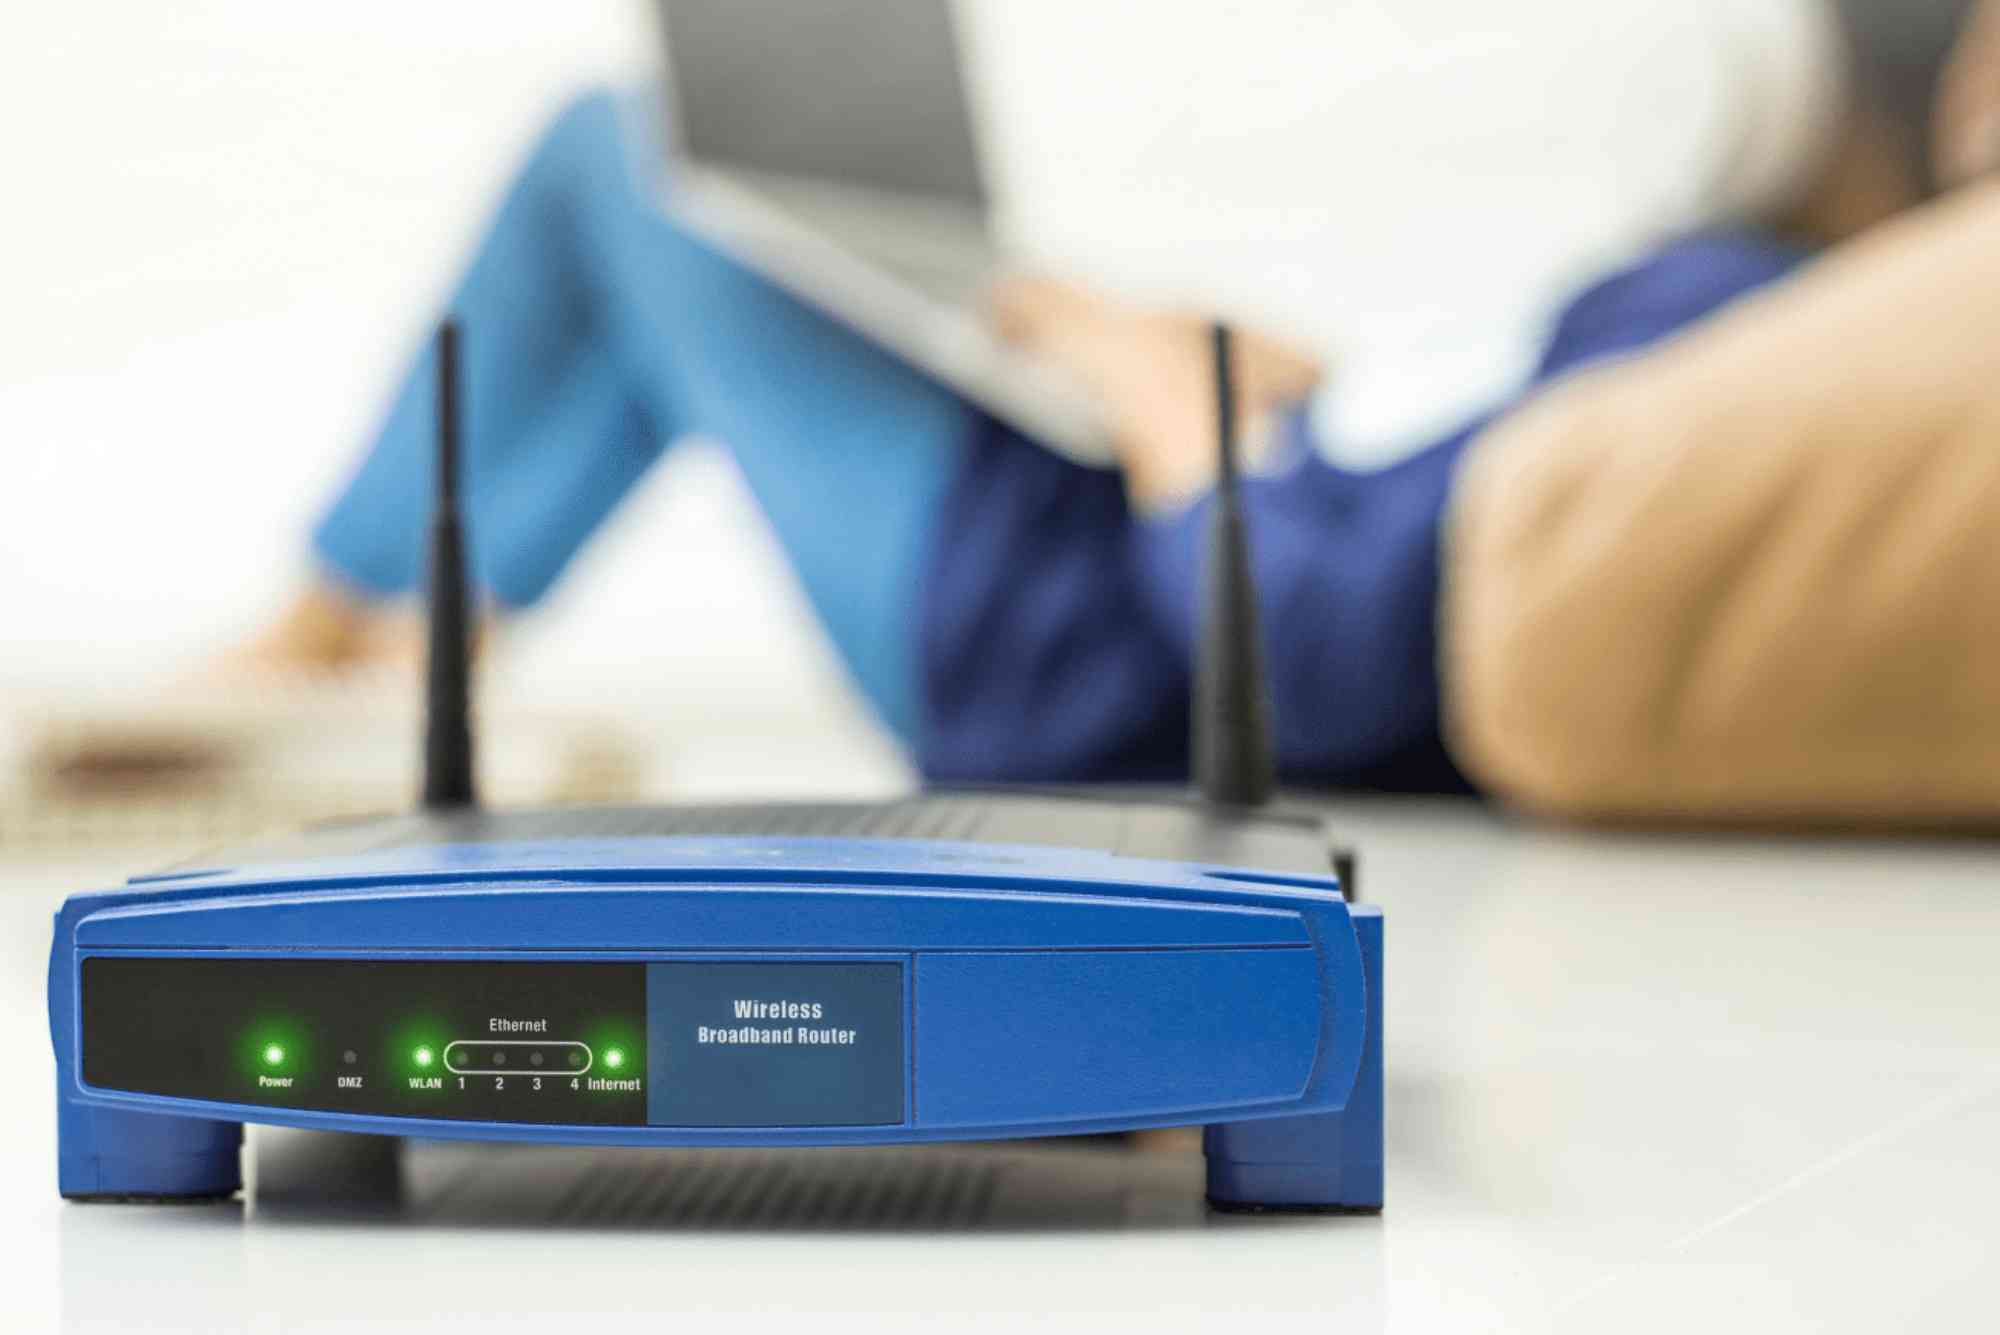
Restart Your Router and Modem
The most basic yet effective step is to restart your router. A simple reboot can often refresh your internet connection and fix temporary glitches.
-
Unplug your router and modem from the power source.
-
Wait for about 30 seconds.
-
Plug them back in and allow them to reboot fully.
-
Try reloading the website.
If the error disappears, the issue was likely due to a temporary network glitch.
Clear DNS Cache
Sometimes, the DNS cache stored on your device becomes corrupted and prevents websites from loading. Clearing it can fix the problem instantly.
On Windows:
-
Type cmd in the Start menu.
-
Right-click Command Prompt and select Run as administrator.
-
Type the following command and press Enter:
ipconfig /flushdns
-
Wait until you see the message “Successfully flushed the DNS Resolver Cache.”
-
Restart your browser and try accessing the website again.
On Mac:
-
Open Terminal from Applications → Utilities.
-
Type:
sudo killall -HUP mDNSResponder
-
Press Enter and enter your admin password if prompted.
Your DNS cache is now cleared.
Change DNS Server
Sometimes, the DNS server provided by your Internet Service Provider (ISP) can be unreliable. Switching to a public DNS, such as Google or Cloudflare, often solves the issue.
Recommended DNS Servers:
-
Google DNS:
8.8.8.8and8.8.4.4 -
Cloudflare DNS:
1.1.1.1and1.0.0.1
On Windows:
-
Open Control Panel → Network and Internet → Network and Sharing Center.
-
Click Change adapter settings on the left sidebar.
-
Right-click your active network and select Properties.
-
Double-click Internet Protocol Version 4 (TCP/IPv4).
-
Select Use the following DNS server addresses.
-
Enter Google’s or Cloudflare’s DNS and click OK.
On Mac:
-
Open System Preferences → Network.
-
Choose your active connection and click Advanced.
-
Go to the DNS tab.
-
Add the new DNS addresses.
-
Click OK → Apply.
Try reloading your browser. The DNS_PROBE_FINISHED_NO_INTERNET error should be gone.
Reset Network Settings
If changing DNS doesn’t work, resetting your entire network configuration might. This reverts all settings back to default and clears corrupted data.
On Windows:
-
Open Settings → Network & Internet → Status.
-
Scroll down and click Network reset.
-
Click Reset now, then restart your computer.
On Mac:
-
Open System Preferences → Network.
-
Select your Wi-Fi or Ethernet connection.
-
Click the minus (-) button to remove it.
-
Click the plus (+) button to add it back.
After resetting, reconnect to your network.
If you’re using services like Dhanote Internet Services, make sure your login details and connection configurations are correct before reconnecting.
Restart the DNS Client Service (Windows)
If you’re on Windows, the DNS Client Service might have stopped working. Restarting it can fix the issue.
-
Press Windows + R, type
services.msc, and press Enter. -
Scroll down to find DNS Client.
-
Right-click it and choose Restart.
Wait a few seconds, then try accessing the internet again.
Disable Firewall or Antivirus Temporarily
Sometimes, security software interferes with DNS connections. Temporarily disabling your firewall or antivirus can help you identify if that’s the cause.
-
Open your antivirus software.
-
Locate the option to disable real-time protection temporarily.
-
Try connecting to the internet again.
If the problem disappears, whitelist your browser or DNS settings before re-enabling the antivirus.
Update Network Drivers
Outdated or corrupted network drivers can also cause DNS issues.
-
Press Windows + X and select Device Manager.
-
Expand the Network adapters section.
-
Right-click your network driver and choose Update driver.
-
Select Search automatically for updated driver software.
Once the update finishes, restart your PC.
Use Command Prompt to Reset IP Configuration
If the problem persists, try resetting your IP settings completely.
-
Run Command Prompt as administrator.
-
Type the following commands one by one and press Enter after each:
netsh int ip reset

netsh winsock reset

ipconfig /release

ipconfig /renew

ipconfig /flushdns
-
Restart your computer.
These commands refresh your TCP/IP stack and often fix deep-rooted DNS problems.
Disable VPN or Proxy
If you’re using a VPN or proxy, it might interfere with DNS resolution.
-
Turn off your VPN or disconnect it temporarily.
-
Go to Network Settings → Proxy and ensure no unwanted proxies are enabled.
After disabling, check if the issue is resolved.
Check Your Internet Connection
Sometimes, the issue has nothing to do with your device. It could be your internet provider. If you suspect an outage, test another device on the same connection.
If multiple devices can’t connect, contact your ISP for assistance. Reliable providers like Dhanote Internet Services offer quick support and stable DNS configurations, minimizing such errors.
How to Prevent DNS_PROBE_FINISHED_NO_INTERNET Error in the Future
Once your connection is back, here are a few tips to prevent this error from recurring:
-
Use a trusted DNS provider like Google or Cloudflare.
-
Restart your router regularly to refresh network settings.
-
Keep your network drivers up to date.
-
Avoid running multiple VPNs or proxies simultaneously.
-
Use reliable internet services for consistent connectivity.
By maintaining these simple habits, you can keep your internet connection stable and avoid DNS problems in the long run.
FAQs
What causes DNS_PROBE_FINISHED_NO_INTERNET?
It usually occurs due to network misconfigurations, faulty DNS servers, or outdated network drivers.
Is DNS_PROBE_FINISHED_NO_INTERNET a virus?
No, it’s not a virus. It’s simply an internet connectivity issue related to DNS resolution.
How do I fix DNS_PROBE_FINISHED_NO_INTERNET on Chrome?
Try clearing your DNS cache, restarting the router, or switching to Google DNS (8.8.8.8, 8.8.4.4).
Why does the error keep coming back?
If it reappears frequently, it may be due to a faulty router, an unstable ISP, or antivirus interference.
Can I fix this error on mobile devices?
Yes. You can reset network settings or switch to a different DNS app on Android or iPhone.
The DNS_PROBE_FINISHED_NO_INTERNET error can be frustrating, but it’s almost always fixable with the right steps. From clearing your DNS cache to changing your DNS server or resetting network settings, these solutions will restore your internet connection efficiently.

