Introduction
Fiber optic internet is one of the fastest and most reliable ways to connect to the digital world. Unlike traditional DSL or cable connections, fiber uses light signals transmitted through thin glass fibers, giving you unmatched speed, stability, and low latency. Many internet service providers now offer self-installation kits, which means you can set up your connection without waiting for a technician. If you are wondering how to self install fiber optic internet at home, this detailed guide will walk you through everything you need to know. From preparation and tools to setup and troubleshooting, you will learn the steps to confidently get your home online with fiber.
Why Choose Fiber Optic Internet
Fiber is considered the gold standard of internet connectivity. Its ability to handle large amounts of data makes it perfect for streaming in 4K, video conferencing, gaming, and running multiple smart devices at once. While cable or DSL might struggle with bandwidth during peak times, fiber maintains consistent speed and reliability. Another advantage is future-proofing. As internet needs grow, fiber infrastructure ensures you stay ahead without frequent upgrades. Installing it at home empowers you to take advantage of these benefits instantly.
Can You Self-Install Fiber Optic Internet?
Yes, in most cases you can. Many ISPs now provide do-it-yourself installation kits that include the fiber modem, router, and all necessary cables. The process is straightforward as long as your home is already wired for fiber or has a nearby access point. Self-installation saves you time, reduces installation fees, and gives you more control over your setup. However, in some situations—such as if fiber lines have not yet been connected to your house—you may still need professional help to bring the service into your property.
Preparing for Fiber Installation
Before starting the installation, preparation is key. Confirm that fiber service is available in your area and that your home has been wired for it. If you are unsure, contact your provider. Gather the equipment you will need:
-
Fiber optic modem (ONT, or Optical Network Terminal)
-
Router for Wi-Fi distribution
-
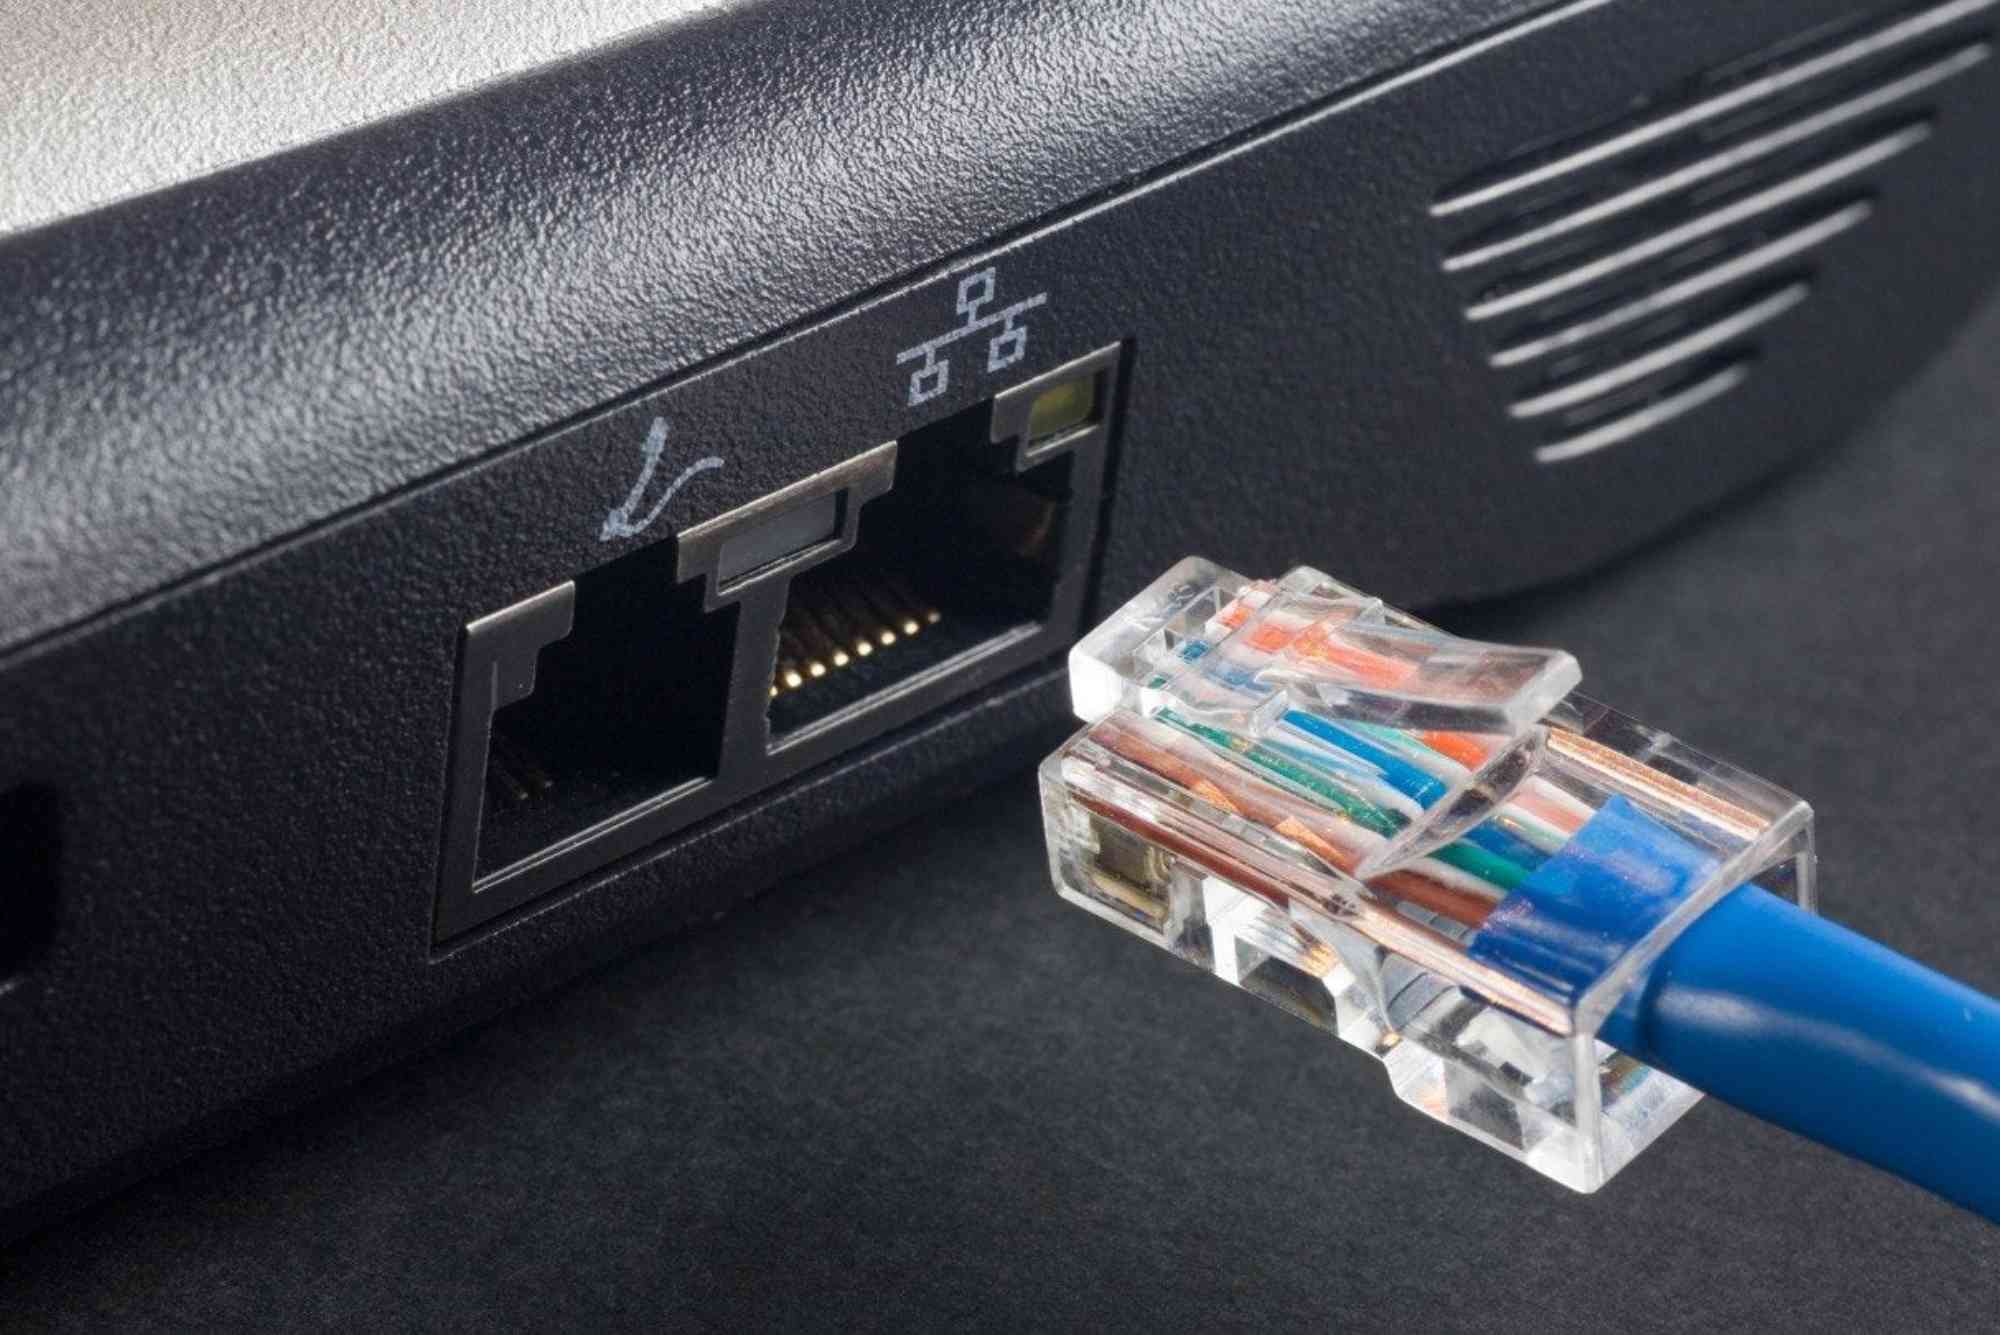
Ethernet cables for wired connections
-
Fiber cable provided by your ISP
-
Power adapters for the devices
-
Self-installation guide from your ISP
Clear the area around the main connection point in your home. This is usually near where the fiber cable enters your house or apartment. Ensure you have access to power outlets nearby and consider ventilation for the modem and router, as these devices should not overheat.
Guide on How to Self Install Fiber Optic Internet
Connect the Optical Network Terminal (ONT)
The ONT is the heart of your fiber internet connection. It converts the light signals from the fiber optic line into data that your devices can use. Plug the fiber cable into the ONT carefully, ensuring it clicks securely in place. Then connect the ONT to a power source and turn it on. Some ONTs may also require you to connect them directly to your router using an Ethernet cable.
Set Up Your Router
Your router distributes the internet connection throughout your home via Wi-Fi and Ethernet. Connect an Ethernet cable from the ONT to the WAN or Internet port of your router. Plug the router into a power outlet and wait for it to boot up. Most routers will automatically configure themselves once they detect the ONT connection. You may need to log in through a web browser or app to set up your Wi-Fi name and password.
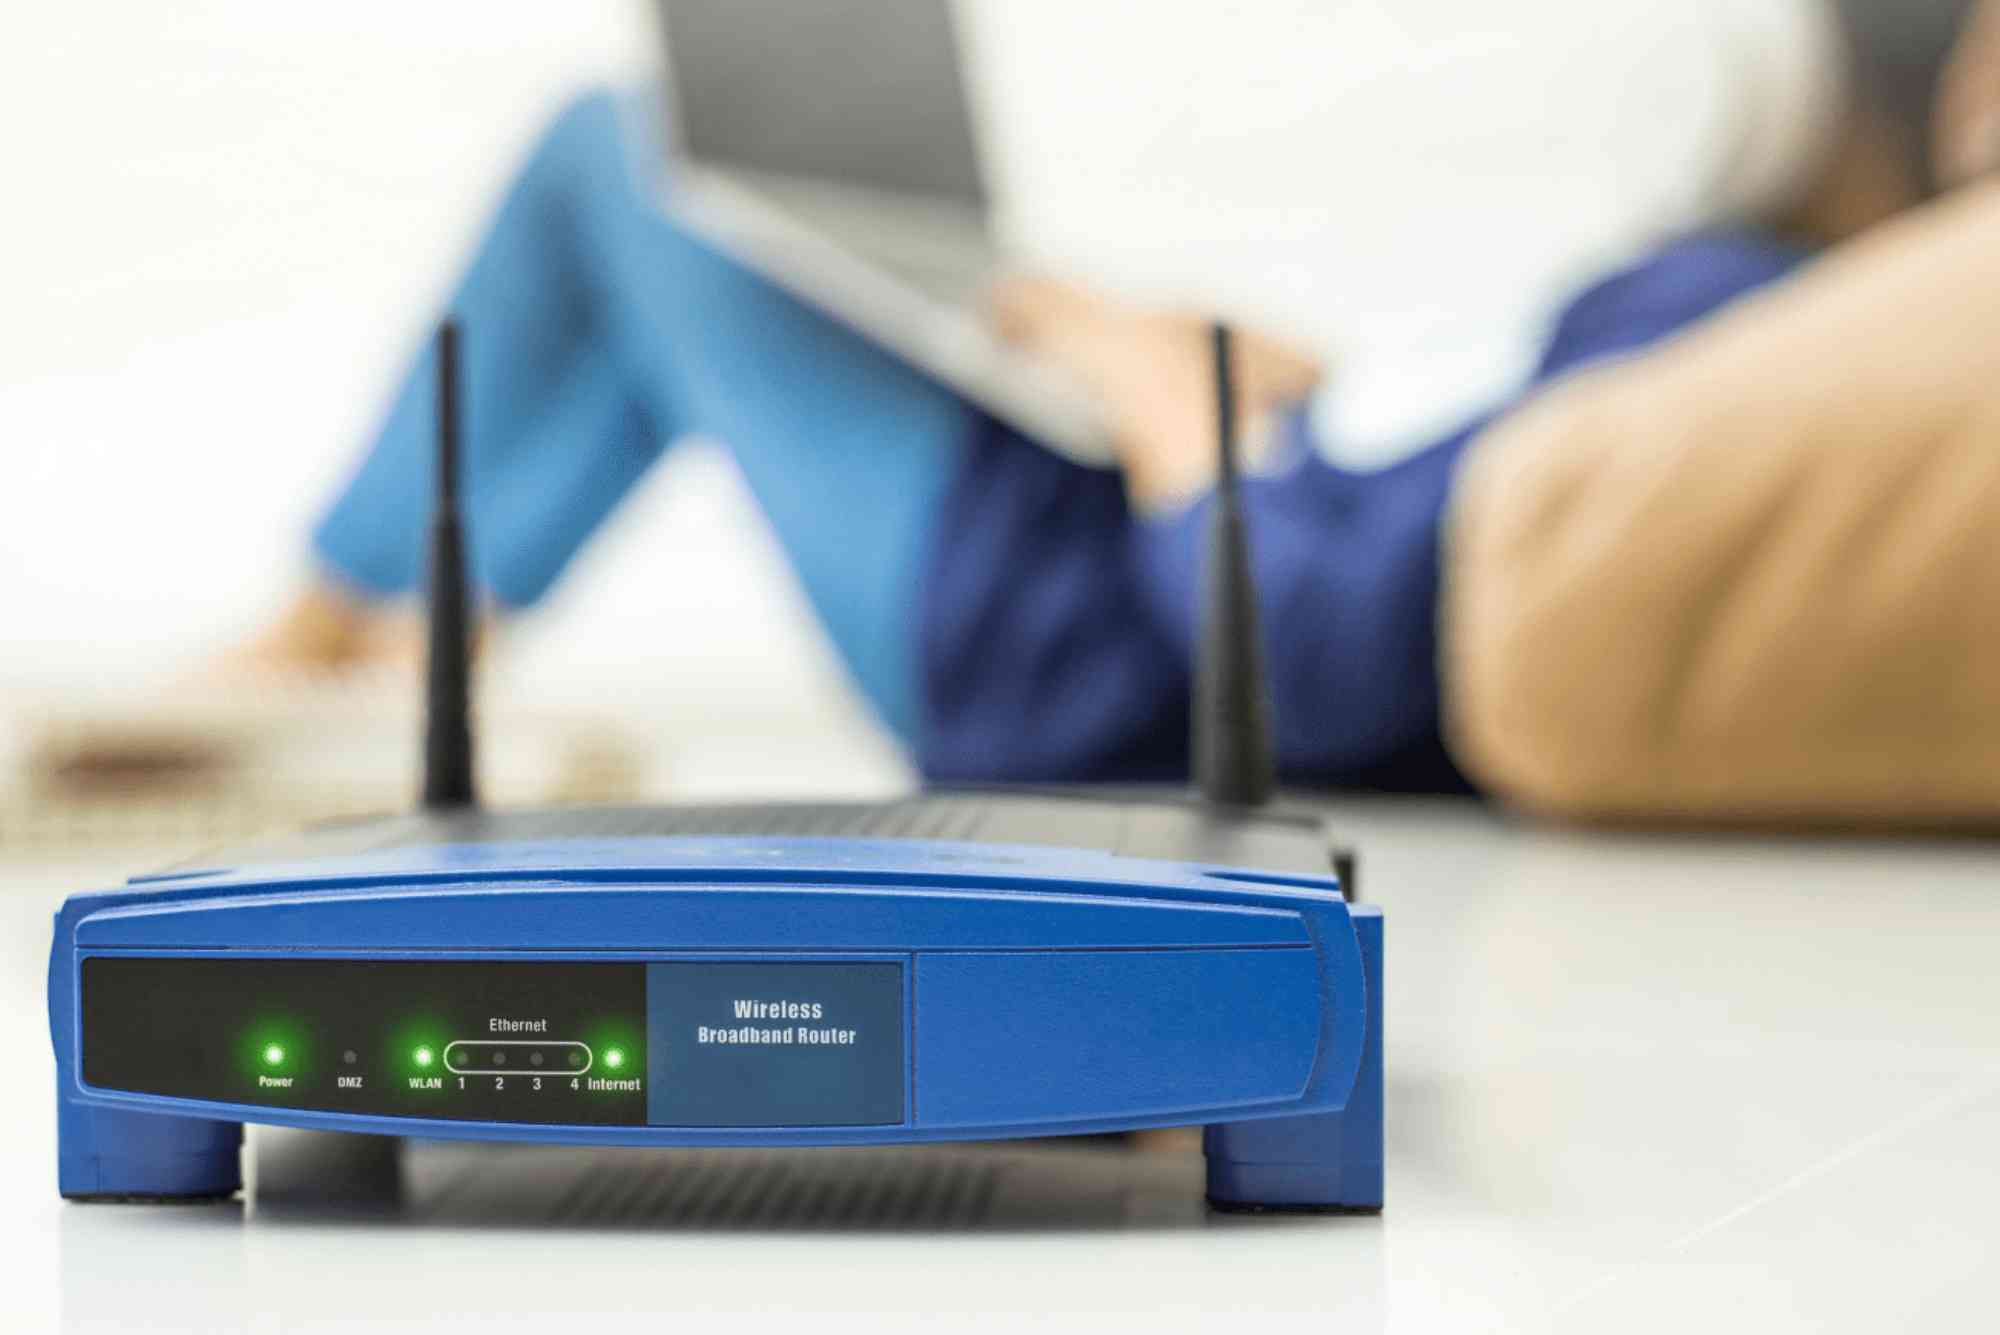
Verify Internet Connection
After connecting both devices, check the indicator lights. The ONT should show stable lights for power and data, while the router should display active Wi-Fi signals. Open a web browser and visit any website to confirm the connection is live. If the page loads without errors, your fiber internet is successfully installed.
Position Your Router for Best Coverage
The placement of your router affects Wi-Fi performance. For the strongest signal, position the router in a central location, away from thick walls or electronic interference. Elevating it on a shelf can also improve coverage. If your home is large, consider adding Wi-Fi extenders or mesh systems to ensure seamless connectivity in every room.
Common Problems and Solutions
Even though the process is simple, you might face small issues during installation. Here are solutions to the most common ones.
-
No signal: Check if the fiber cable is securely connected to the ONT. Sometimes a loose connection is the culprit.
-
Router not connecting: Ensure the Ethernet cable between the ONT and router is plugged into the correct port. Restart both devices if necessary.
-
Slow speeds: Run a speed test. If your results are lower than expected, update your router’s firmware or switch to a wired connection for testing.
-
Wi-Fi dead zones: Move your router to a better location or invest in mesh Wi-Fi systems to improve coverage.
If these solutions do not work, contact your ISP for additional troubleshooting support.
Benefits of Self-Installing Fiber Internet
Installing fiber on your own has several benefits. First, it saves money because you avoid technician fees. Second, it is faster since you do not need to schedule appointments or wait for service crews. Third, it gives you complete control over your home setup, from the choice of router to the location of your devices. For many users, the confidence gained from handling their own internet installation is a rewarding experience.
Expert Tips for a Smooth Installation
To make the process even smoother, follow these expert tips. Handle fiber cables carefully because they are delicate and can break if bent sharply. Label your cables if you are setting up multiple devices to avoid confusion later. Use surge protectors for both the ONT and router to protect against power fluctuations. Lastly, write down your Wi-Fi name and password in a secure place so you do not forget them.
Future of Fiber Internet
As demand for high-speed internet grows, fiber continues to expand across cities and rural areas. It is the backbone of digital transformation, supporting smart homes, remote work, and online learning. Learning how to self install fiber optic internet at home prepares you for this future, giving you the freedom to manage your own connectivity. Companies like Dhanote Internet Services are making fiber more accessible and user-friendly, ensuring more people can enjoy seamless online experiences.
Knowing how to self install fiber optic internet at home empowers you to enjoy high-speed connectivity without depending on a technician. By following the right steps—preparing your equipment, connecting the ONT, setting up the router, and testing the connection—you can have your internet running in less than an hour. Self-installation is cost-effective, convenient, and gives you control over your home network. If you want faster speeds, smoother streaming, and reliable gaming, now is the time to make the switch. Take the first step today, set up your fiber connection, and unlock the true potential of your digital life.
FAQs
How long does it take to self-install fiber internet?
Most installations take less than an hour if your home is already wired. Setting up the ONT and router is quick.
Do I need special tools to install fiber internet?
No special tools are needed. Most ISPs provide all the necessary equipment in the self-installation kit.
What happens if my home is not wired for fiber?
In that case, you will need a technician to run the fiber line from the street or utility pole to your house.
Can I use my own router with fiber internet?
Yes, most ISPs allow you to use your own router as long as it is compatible with fiber speeds.
Is self-installing fiber internet safe?
Yes, it is safe. The equipment is designed for consumer use, and the process does not involve handling live electrical lines.
Can I move my ONT after installation?
It is best not to move the ONT after installation since the fiber cable is fragile. Only the router should be repositioned if needed.