Introduction
In today’s connected world, offering visitors access to your Wi-Fi has become almost as common as offering them a glass of water. Whether it is family, friends, or colleagues dropping by, chances are they will ask for your internet password. However, granting access to your main network can expose your personal devices to unnecessary risks. This is where learning how to enable a guest network on your router for visitors becomes valuable. A guest network provides secure, controlled access to your internet without compromising your own data.
By the end of this guide, you will not only understand why enabling a guest network is important but also how to set it up correctly. Following best practices will give your visitors reliable internet while keeping your digital environment safe.
Why Use a Guest Network for Visitors?
When you provide access to your primary Wi-Fi, you allow every device that connects to it to share the same environment as your own laptops, smartphones, smart TVs, and even work-related devices. This can unintentionally expose sensitive files or make your network vulnerable to malware. A guest network acts as a separate lane for visitors, keeping your core data shielded.
Beyond security, a guest network is convenient. Instead of constantly sharing and updating your private Wi-Fi password, you can create a simple, easy-to-remember guest password. That way, guests get internet access without interruptions to your primary setup.
Another important advantage is bandwidth control. Many routers allow you to set limits for the guest network, ensuring that your streaming or work does not get slowed down when visitors are watching videos or downloading files.
Preparing to Enable a Guest Network
Before diving into the technical steps, it is important to know that every router interface looks slightly different. The general principles remain the same, but the exact wording of menus or settings can vary depending on your router’s brand and model. To begin, make sure you know the following:
-
Your router’s admin username and password.
-
The router’s IP address, which you usually enter into your browser’s address bar. Common addresses include 192.168.0.1 or 192.168.1.1.
-
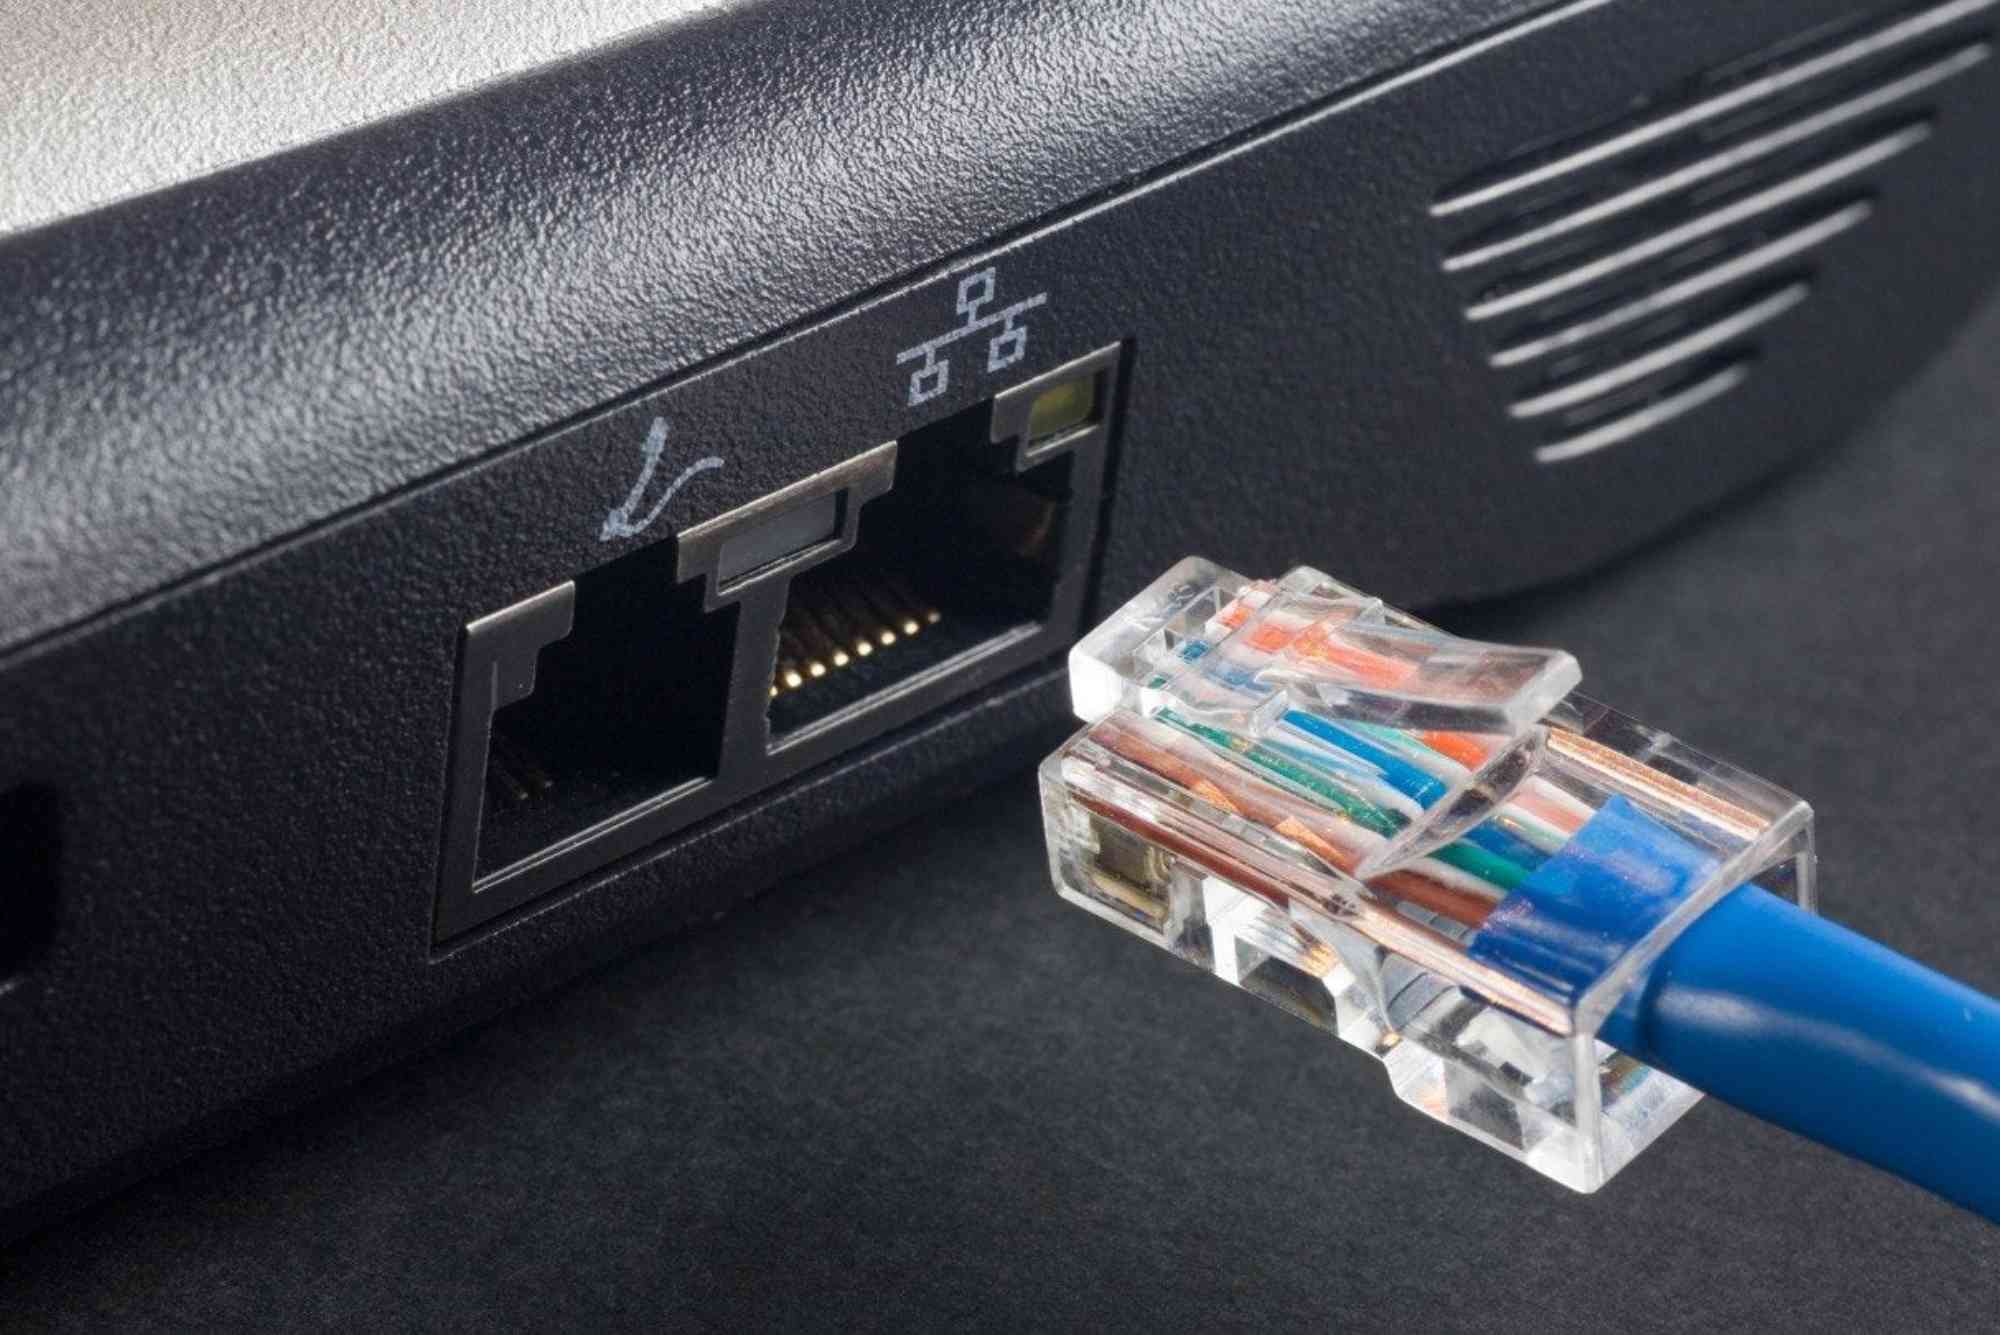
Access to the router either through a wired connection or existing Wi-Fi.
Having this information ready ensures a smooth setup process.
How to Enable a Guest Network on Your Router for Visitors
Enabling a guest network usually takes only a few minutes, but doing it correctly requires careful attention to security settings. The following guidance applies broadly across most modern routers.
Accessing the Router Settings
Open your web browser and type in your router’s IP address. Once the login screen appears, enter your admin credentials. If you have never changed them, they may still be the default listed on your router’s label. For security, it is highly recommended to change those defaults once you log in.
Finding the Guest Network Option
Most routers today include a dedicated section for guest networks under Wireless, Wi-Fi, or Network Settings. Once there, you will usually see an option to enable or disable the guest network. Activate it and assign a network name, also known as the SSID. Ideally, the name should make it clear it is for visitors, for example, “HomeGuestWiFi.”
Setting a Secure Password
Do not leave your guest network open without a password. While it may seem convenient, an open connection can be abused by anyone nearby. Always choose WPA2 or WPA3 encryption if available and set a strong password. The password can be easier to share than your main Wi-Fi password, but it should still not be something like “123456.”
Adjusting Permissions
Many routers allow you to control whether guests can access local devices on your network. Always disable local network access for the guest Wi-Fi. This ensures that visitors cannot see your computers, printers, or smart home devices. Instead, they will only have access to the internet connection itself.
Configuring Bandwidth Limits
If your router supports Quality of Service (QoS) features, set reasonable bandwidth limits for the guest network. This prevents visitors from consuming all available bandwidth and ensures your connection remains stable for your own needs.
Best Practices for Managing Your Guest Network
After setting up a guest network, management becomes just as important as the initial configuration. Treat your guest network as a space that should remain secure, flexible, and convenient.
First, make it a habit to change the guest password periodically. Just as you would update your main Wi-Fi password, rotating the guest password ensures that only current visitors have access. If you frequently host new guests, this becomes even more important.
Second, monitor your network activity if your router allows it. Many modern routers display the number of devices connected at any given time. If you notice unknown devices connected, you can quickly remove them.
Third, remember to disable the guest network when you do not expect visitors. While leaving it on is not necessarily unsafe, turning it off when not in use provides an additional layer of control.
Finally, if you rely heavily on internet for work or streaming, make sure the guest network has limits in place. Prioritizing your own devices ensures that important tasks are not interrupted.
Common Issues When Enabling a Guest Network
While the process is generally straightforward, users occasionally encounter problems. One common issue is not finding the guest network option at all. This may happen if your router is older or lacks modern features. In such cases, contacting your internet provider for an upgrade may be the best solution.
Another challenge occurs when the guest network is enabled, but devices still have access to the main network. This usually means the isolation setting is not correctly configured. Always double-check that “allow access to local network” or similar options are disabled.
In some cases, the guest network may slow down the overall Wi-Fi. If this happens, check your router’s firmware and update it if necessary. Manufacturers frequently release updates that improve performance and security.
Enhancing Security for Guest Networks
Enabling a guest network is already a strong step toward protecting your devices, but you can take security further. For example, using WPA3 encryption if available makes it significantly harder for outsiders to crack your Wi-Fi password.
Another powerful measure is separating frequency bands. Many routers let you create guest networks on both 2.4 GHz and 5 GHz bands. Offering guests access to one band while reserving the other for your own devices helps maintain stability and speed.
Additionally, some advanced routers offer parental or access control features. These allow you to restrict guest network usage during certain hours or block specific types of websites. If you often host children or want to ensure safe browsing, such features can be very useful.
Guest Networks for Businesses
While most households benefit from a guest network, businesses find them essential. A company offering Wi-Fi to clients or customers must ensure its internal systems remain protected. For example, a small office can provide visitors with internet while keeping its internal servers and shared drives private.
If you run a business, branding your guest network with your company name can add professionalism. At the same time, monitoring guest usage ensures that your business internet remains fast and secure. This balance between accessibility and security demonstrates professionalism to clients.
Internal Link for Readers
For those interested in learning more about reliable internet solutions and services, you can explore Dhanote Internet Services.
FAQs: How to Enable a Guest Network on Your Router for Visitors
Can I set up a guest network on any router?
Not all routers have this feature. Most modern routers include it, but older models may not.
Does a guest network slow down my Wi-Fi?
It should not if your router is powerful enough and you manage bandwidth correctly.
Should I leave my guest network open without a password?
No. An open Wi-Fi network is unsafe and can be misused by strangers nearby.
Can I create different guest networks for different groups?
Some advanced routers allow multiple guest networks, each with separate settings and limits.
How do I share the guest Wi-Fi password easily?
Consider printing it or storing it in a QR code that guests can scan to connect instantly.
Knowing how to enable a guest network on your router for visitors is an essential step in balancing hospitality with digital security. By isolating guest access, setting secure passwords, and managing bandwidth, you ensure that visitors enjoy reliable internet while your devices stay safe. Whether you are running a household or a business, this practice enhances security and convenience alike.