Introduction
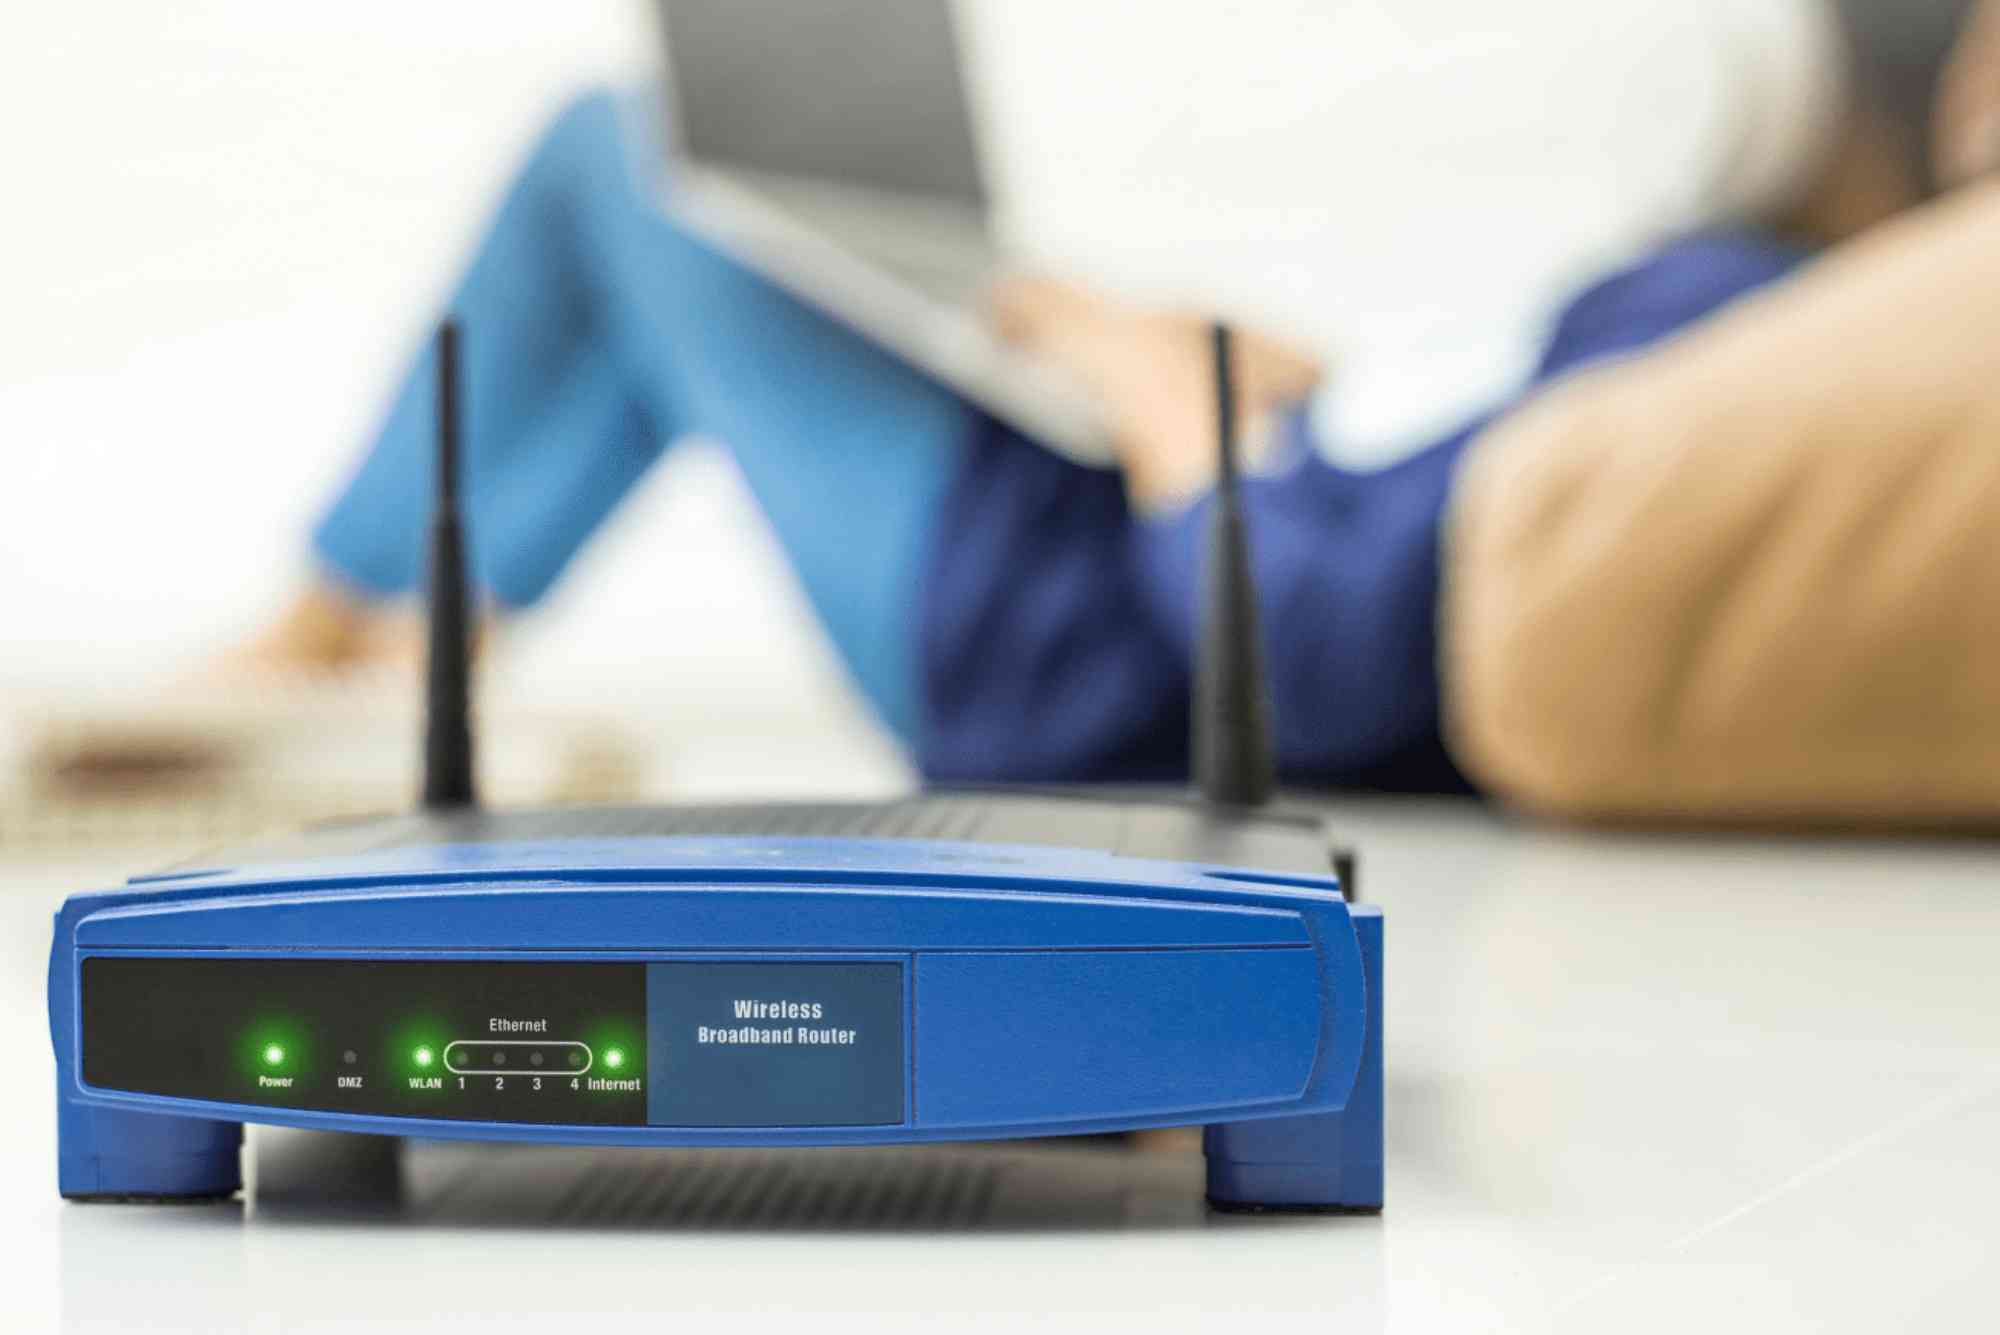
A mesh Wi-Fi system is one of the most effective solutions for eliminating dead zones and ensuring smooth internet coverage across your home or office. Unlike traditional routers, mesh networks use multiple access points, known as nodes, that work together to provide seamless connectivity. If you’re wondering how to add nodes to mesh Wi-Fi, the process is simpler than you think. Whether you’re upgrading your current setup or expanding your network, understanding the right steps ensures stronger coverage, faster speeds, and fewer connectivity issues.
Adding nodes to your mesh Wi-Fi network is not just about extending range; it’s about improving reliability and creating a smarter internet environment. This guide walks you through the complete process, from preparation to troubleshooting, ensuring that even beginners can follow along.
Why Adding Nodes Matters
When your Wi-Fi signal struggles to reach every corner of your space, the experience can be frustrating. Video calls drop, streaming lags, and smart devices disconnect. Adding nodes solves these problems by strengthening coverage and maintaining consistent internet performance.
Mesh nodes are designed to communicate seamlessly with your main router, forming a single unified network. This means your devices automatically connect to the strongest signal without interruptions. For larger homes, offices, or spaces with thick walls, additional nodes are essential.
Preparing to Add a Node
Before diving into the installation, it’s important to prepare properly. Not all nodes are universal, so ensure you purchase compatible ones that match your existing mesh Wi-Fi system. For example, if you use Google Nest Wi-Fi, you should add Nest-compatible nodes. Similarly, TP-Link Deco systems work best with Deco nodes.
Make sure your mesh router is updated with the latest firmware. Manufacturers regularly release updates to improve performance and security. Updating first avoids potential compatibility issues later.
It’s also worth planning the placement of your nodes in advance. Position them midway between your main router and areas with weak signals. Avoid placing nodes near thick walls, large appliances, or areas with heavy interference, such as microwave ovens.
Step-by-Step Guide: How to Add Nodes to Mesh Wi-Fi
Adding a node to your mesh Wi-Fi typically takes only a few minutes. The exact process varies depending on the brand, but the steps remain similar across most systems.
Power Up the New Node
Plug in the new node and place it within range of your existing network. At this stage, it’s best to position it closer to the main router for easier setup. You can move it later for optimal coverage.
Use the Mesh Wi-Fi App
Most mesh systems come with a dedicated mobile app, which makes setup straightforward. Open the app and log in to your account. You’ll usually find an option to “Add Node” or “Add Device” in the menu.
Follow the On-Screen Instructions
The app will guide you through the setup process. This often involves scanning a QR code on the new node or holding down a pairing button. The system will then connect the new node to your existing network.
Test Signal Strength
After the node is added, the app typically provides a signal strength indicator. If the connection is weak, reposition the node until the signal improves. Ideally, you want a balance: close enough to the main router for strong connectivity but far enough to extend coverage effectively.
Finalize Setup
Once the node is properly placed and connected, finalize the setup in the app. This usually involves naming the node or confirming its location, such as “Living Room” or “Office.”
Optimizing Node Placement
Adding nodes is not just about plugging them in—it’s about strategic placement. Poorly placed nodes won’t improve performance and may even slow down your network. To optimize placement, consider these tips:
-
Place nodes at similar heights, preferably waist or chest level.
-
Avoid placing nodes inside cabinets, behind TVs, or near thick concrete walls.
-
Ensure nodes are evenly distributed throughout your space, covering all floors if needed.
-
For multi-story homes, place one node on each floor to ensure vertical coverage.
Think of nodes like teammates passing the ball; each one should be close enough to pass the connection without losing speed.
Troubleshooting Common Issues
Sometimes, adding a new node doesn’t go as smoothly as expected. Here are some common problems and solutions:
The Node Won’t Connect
Ensure the new node is compatible with your mesh system. Restart your router and try again. Reset the new node if necessary before reattempting setup.
Weak Signal from the Node
This usually means the node is placed too far from the main router. Move it closer and test again.
Network Speed Drops
If your network slows down after adding a node, interference may be the culprit. Relocate the node away from electronics like cordless phones, microwaves, or Bluetooth devices.
Node Keeps Disconnecting
Check for firmware updates in the app. Outdated software can cause instability. Also, ensure your router isn’t overloaded with too many connected devices.
Benefits of Adding Extra Nodes
Expanding your mesh Wi-Fi system with additional nodes offers several advantages beyond just coverage:
-
Seamless Roaming: Devices automatically switch to the strongest signal without dropping connections.
-
Scalability: Add as many nodes as needed as your space or device usage grows.
-
Improved Smart Home Integration: More nodes mean stronger connections for smart devices like cameras, speakers, and thermostats.
-
Better Speed Distribution: With more nodes, bandwidth is evenly spread across your devices.
For households working remotely, gaming, or streaming 4K videos, the difference is immediately noticeable.
Professional vs DIY Setup
While most mesh systems are designed for simple DIY installation, some users prefer professional help. If your home is large, has complex wiring, or you’re integrating advanced smart home systems, hiring a technician can ensure optimal performance.
Reliable local providers, such as Dhanote Internet Services, often offer support with Wi-Fi installation and troubleshooting. This can save time and ensure your nodes are positioned for maximum coverage.
FAQs
Can I mix nodes from different brands?
Generally, no. Most mesh systems require brand-specific nodes. For example, TP-Link nodes won’t work with Google Nest Wi-Fi.
How many nodes can I add to my mesh Wi-Fi?
It depends on the manufacturer. Many systems support up to five or more nodes, but always check your router’s specifications.
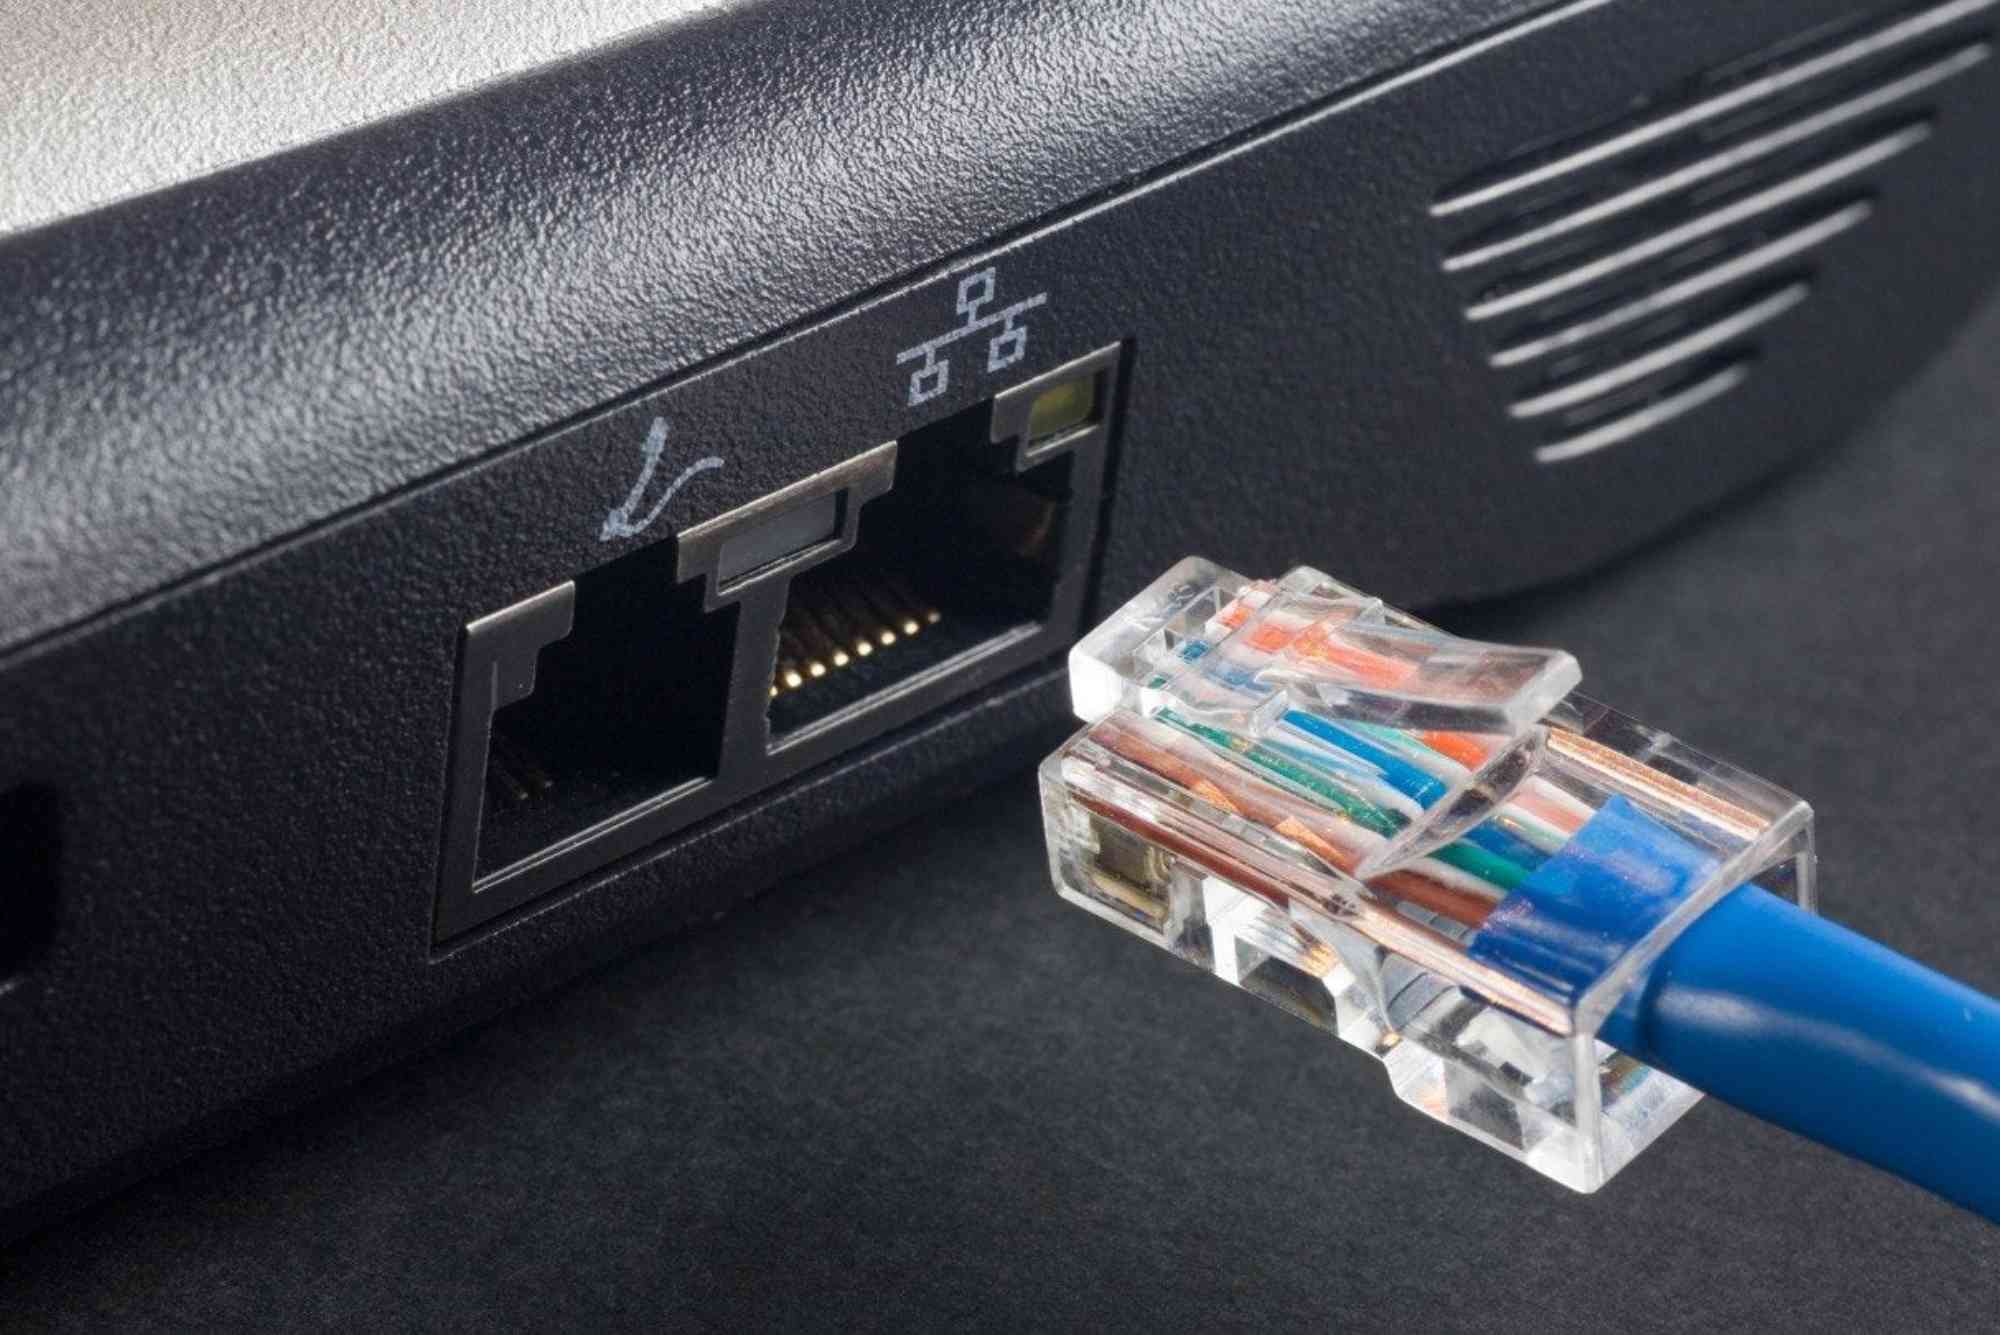
Do nodes need Ethernet connections?
No, most nodes connect wirelessly. However, some offer Ethernet ports for faster, wired backhaul connections.
Where should I place my mesh Wi-Fi nodes?
Place them halfway between the router and dead zones, avoiding thick walls or heavy interference areas.
Will adding nodes slow down my Wi-Fi?
If placed correctly, no. Nodes are designed to extend coverage without reducing speeds. Poor placement, however, can affect performance.
Learning how to add nodes to mesh Wi-Fi is a straightforward process that can significantly improve your internet experience. By choosing compatible nodes, positioning them correctly, and using your system’s app for setup, you can eliminate dead zones and enjoy seamless connectivity.