How to Fix Slow Wi-Fi After Windows Update
If your Wi-Fi suddenly becomes slow after a recent Windows update, you’re not alone. Many users report sluggish internet, high ping, or even dropped connections after installing Windows patches. Updates are meant to improve system performance, but sometimes they alter network settings or drivers, causing connectivity issues. Fortunately, there are reliable ways to fix slow Wi-Fi after Windows update without needing professional help. In this detailed guide, we’ll walk through the most effective methods to restore your Wi-Fi speed, improve stability, and ensure smooth browsing once again.
Why Does Wi-Fi Slow Down After a Windows Update?
Windows updates often modify essential system components, including network adapters and firewall configurations. These updates might install new network drivers, reset configurations, or introduce compatibility issues with your router. Additionally, background processes triggered by updates—such as indexing, syncing, or telemetry—can consume bandwidth temporarily. Understanding the cause is the first step to fixing slow Wi-Fi after Windows update efficiently.
Restart Your PC and Router
A simple restart can fix many connectivity issues. After a Windows update, background changes need a full reboot to apply correctly. Restart both your PC and your router. Wait a few minutes before reconnecting to the Wi-Fi network. This step clears temporary cache, refreshes IP addresses, and resets the wireless adapter, which can often restore normal speed.
Check Background Processes and Windows Update Services
After major updates, Windows continues to run indexing, syncing, and background installations that use network bandwidth. Open Task Manager (Ctrl + Shift + Esc) and check the “Processes” tab for network usage. If Windows Update, OneDrive sync, or antivirus updates are consuming bandwidth, let them finish or temporarily pause them. You can also go to Settings > Windows Update > Advanced Options > Delivery Optimization and disable “Allow downloads from other PCs.” This prevents your system from sharing update files across your network.
Update or Roll Back Network Drivers
Windows updates may automatically install new network drivers that don’t always perform well. Outdated or incompatible drivers can lead to lag or slow speeds. To fix slow Wi-Fi after Windows update, open Device Manager > Network adapters, right-click your Wi-Fi driver, and choose “Update driver.” If the problem started after the update, you can roll back to the previous version by selecting “Properties > Driver > Roll Back Driver.” You can also download the latest driver directly from your device manufacturer’s website for better compatibility.
Reset Network Settings
If updating or rolling back drivers doesn’t help, perform a network reset. This clears out any misconfigured settings and restores defaults. Go to Settings > Network & Internet > Advanced network settings > Network reset. Click “Reset now” and restart your computer. Afterward, reconnect to your Wi-Fi network by entering the password again. This step effectively resolves corrupted configurations that often cause slow connectivity.
Disable Large Send Offload (LSO)
Large Send Offload is a Windows feature that enhances performance under normal conditions but can cause slower speeds after updates. To disable it, open Device Manager > Network adapters, right-click your wireless adapter, and choose “Properties.” Under the “Advanced” tab, find “Large Send Offload (IPv4 and IPv6)” and set them to “Disabled.” Then, click OK and restart your PC. Many users have reported noticeable improvements after this tweak.
Adjust Power Management Settings
Windows often limits network adapter performance in power-saving mode. To fix slow Wi-Fi after Windows update, go to Control Panel > Hardware and Sound > Power Options and select “High Performance.” Next, open Device Manager, right-click your Wi-Fi adapter, choose “Properties,” and under “Power Management,” uncheck “Allow the computer to turn off this device to save power.” This ensures your network adapter remains fully active even during idle periods.
Reset TCP/IP and Flush DNS
Network settings may get corrupted during updates, affecting how your computer communicates with the internet. You can fix this by running a few commands in Command Prompt as Administrator. Type the following commands one by one and press Enter after each:
netsh int ip reset

netsh winsock reset

ipconfig /flushdns

ipconfig /release

ipconfig /renew
After running these commands, restart your PC. This process resets your TCP/IP stack, refreshes DNS records, and resolves misconfigured network connections.
Modify DNS Settings
Sometimes, Windows updates change DNS configurations or make them less efficient. You can manually set a faster DNS like Google or Cloudflare for better performance. Go to Control Panel > Network and Internet > Network Connections, right-click your active Wi-Fi network, select “Properties,” and double-click “Internet Protocol Version 4 (TCP/IPv4).” Choose “Use the following DNS server addresses” and enter:
Preferred DNS: 8.8.8.8
Alternate DNS: 8.8.4.4
Click OK and reconnect to the internet. Changing to a reliable DNS often improves page load times and overall browsing speed.
Check for Conflicting Security Software
Some antivirus programs interfere with network traffic after system updates. Temporarily disable your antivirus or firewall and test your Wi-Fi speed. If performance improves, consider updating the antivirus or switching to a lighter version. Always re-enable your protection afterward.
Disable Auto-Tuning
Windows includes a feature called TCP Auto-Tuning that optimizes data flow. After certain updates, it can become misconfigured and slow your Wi-Fi. Open Command Prompt as Administrator and type:
netsh interface tcp set global autotuninglevel=disabled
Press Enter, restart your computer, and test your Wi-Fi speed again. If it doesn’t help, you can re-enable it with:
netsh interface tcp set global autotuninglevel=normal
Optimize Wi-Fi Signal and Router Settings
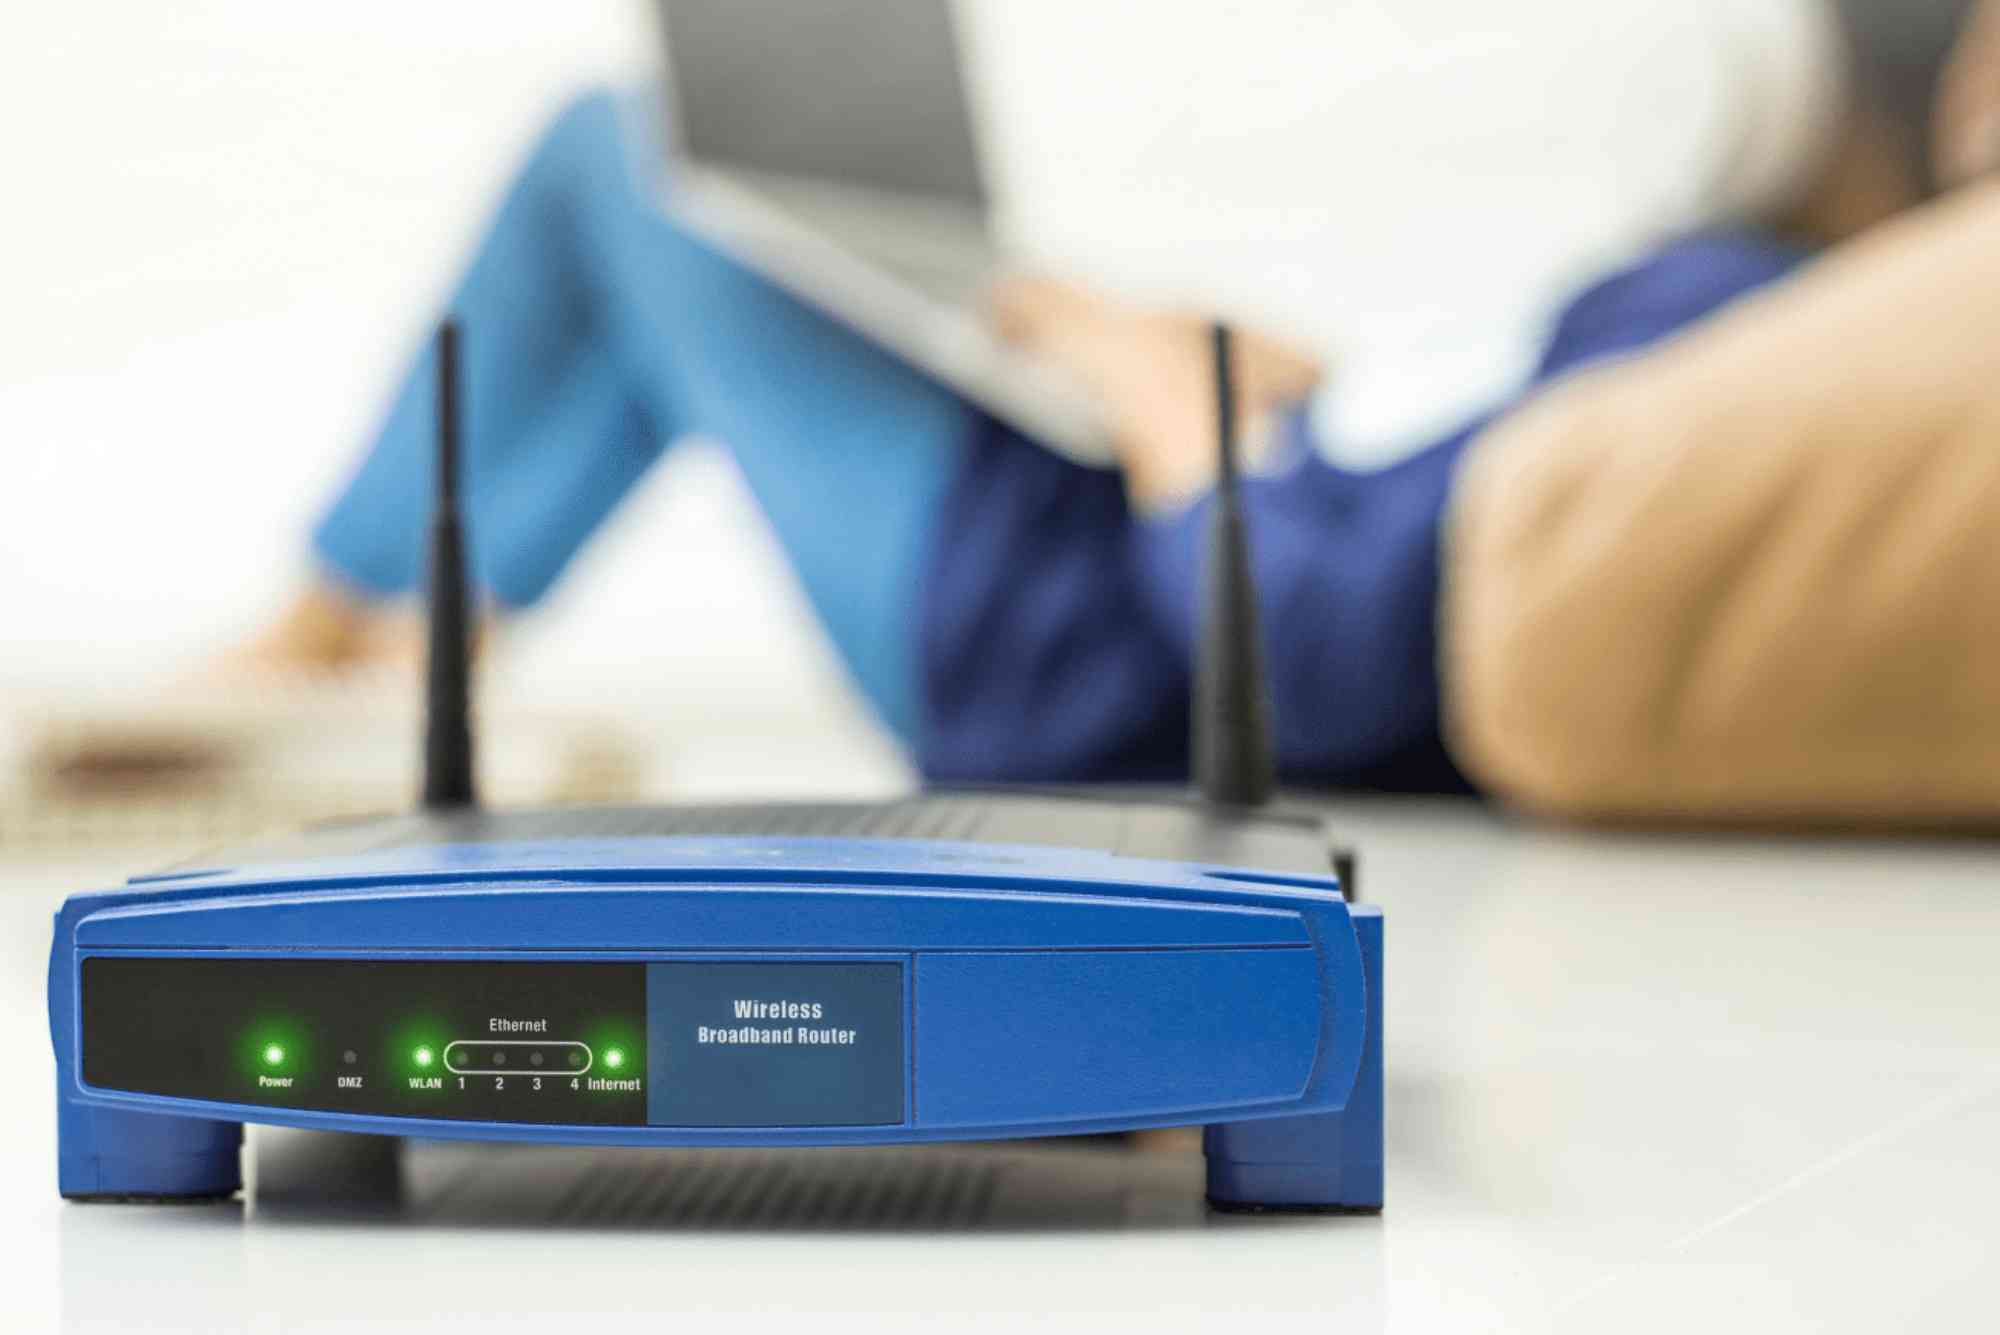
If your computer is fine but your Wi-Fi signal remains weak, check the router. Ensure it’s placed in a central area without physical obstructions. Log in to your router’s admin panel and make sure firmware is updated. Switch between 2.4GHz and 5GHz bands based on your location—5GHz offers faster speeds at shorter distances, while 2.4GHz provides better coverage through walls.
Also, try changing your Wi-Fi channel manually to avoid interference from neighboring networks. Routers often use auto-channel selection, which may not always choose the optimal frequency.
Limit Bandwidth-Hogging Applications
After a Windows update, certain background services or apps may consume extra bandwidth. Open Settings > Network & Internet > Data usage and review which apps are using the most data. Disable automatic updates, cloud syncs, or streaming services when not in use. This ensures that critical online activities like browsing or video calls receive enough bandwidth.
Turn Off Metered Connection and Proxy
Some updates enable a “metered connection” setting to conserve data, which can throttle your speed. Go to Settings > Network & Internet > Wi-Fi > Manage known networks, select your Wi-Fi, and ensure “Set as metered connection” is turned off. Similarly, go to Settings > Network & Internet > Proxy and disable any manual proxy settings that might slow down your connection.
Use a Reliable Internet Provider
If all software fixes fail, your internet provider may be the culprit. Inconsistent speeds, outdated routers, or bandwidth throttling can make post-update problems worse. It’s always wise to ensure you have a stable connection from a trusted provider such as Dhanote Internet Services, known for its reliable performance and excellent customer support. A dependable service ensures your Windows system updates won’t disrupt your internet experience.
Check for Microsoft Patches or Rollback Updates
Sometimes, specific Windows updates cause network slowdowns due to bugs. Microsoft often releases follow-up patches to fix them. Go to Settings > Windows Update > Update History, identify the latest update, and search online to see if others report similar issues. If the problem is widespread, uninstall that update by clicking “Uninstall updates” and waiting for a new patch to resolve it.
Experiencing slow Wi-Fi after a Windows update can be frustrating, especially when you rely on stable internet for work or entertainment. Thankfully, most issues can be resolved with a few targeted steps—updating drivers, resetting network settings, tweaking power options, or adjusting DNS. If the issue persists, checking your router settings or switching to a trusted provider like Dhanote Internet Services can make a significant difference. By following the steps in this guide, you can quickly fix slow Wi-Fi after Windows update and enjoy a fast, reliable connection once again.
If your Wi-Fi speed still hasn’t improved, don’t settle for poor performance. Apply these fixes today, and if needed, consider upgrading to a more stable internet connection through Dhanote Internet Services for uninterrupted browsing and streaming.
FAQs
Why is my Wi-Fi slow after a Windows update?
Windows updates may change network drivers, reset configurations, or activate background tasks that consume bandwidth. These changes can temporarily or permanently affect your Wi-Fi performance.
How do I fix Wi-Fi speed after an update?
Start by restarting your PC and router, updating or rolling back network drivers, and resetting network settings. You can also change DNS, disable power-saving options, or run TCP/IP reset commands.
Does Windows automatically change Wi-Fi drivers?
Yes, Windows can automatically install new drivers during updates. While intended to improve performance, some new drivers may be incompatible with your hardware.
Can antivirus affect Wi-Fi speed after an update?
Yes. Some antivirus or firewall software may block or slow down network traffic, especially if they’re not fully compatible with the latest Windows build.
Should I roll back a Windows update if Wi-Fi is slow?
If none of the fixes work and the problem started immediately after an update, rolling it back is a safe option until Microsoft provides a fix.

