Introduction
After a Windows update, many users face a frustrating problem: their Ethernet connection suddenly stops working. You might notice the network icon showing “No Internet,” or your computer may fail to detect the wired connection entirely. If this happens to you, don’t worry — it’s a common issue that can usually be resolved with a few simple steps. This guide will show you how to fix Ethernet not working after Windows update using proven methods that anyone can follow.
When Windows installs updates, especially large ones like feature or driver updates, certain network settings can change. These changes may disable your Ethernet adapter, uninstall drivers, or alter configurations that affect connectivity. The good news is that you don’t need to be a tech expert to solve it. Follow the practical methods below to restore your Ethernet connection quickly and safely.
Common Reasons Ethernet Stops Working After Windows Update
Before jumping into the fixes, it’s important to understand why this happens. Knowing the cause helps you apply the right solution faster.
One common reason is that Windows automatically updates your network adapter drivers, which sometimes leads to compatibility issues. Another possibility is that certain system settings get reset during the update, causing conflicts between your Ethernet adapter and Windows networking services. Occasionally, firewall or antivirus software interferes with network connections after an update. Hardware-related issues such as loose cables or damaged ports are also worth checking before moving to advanced steps.
Check Physical Connections and Hardware
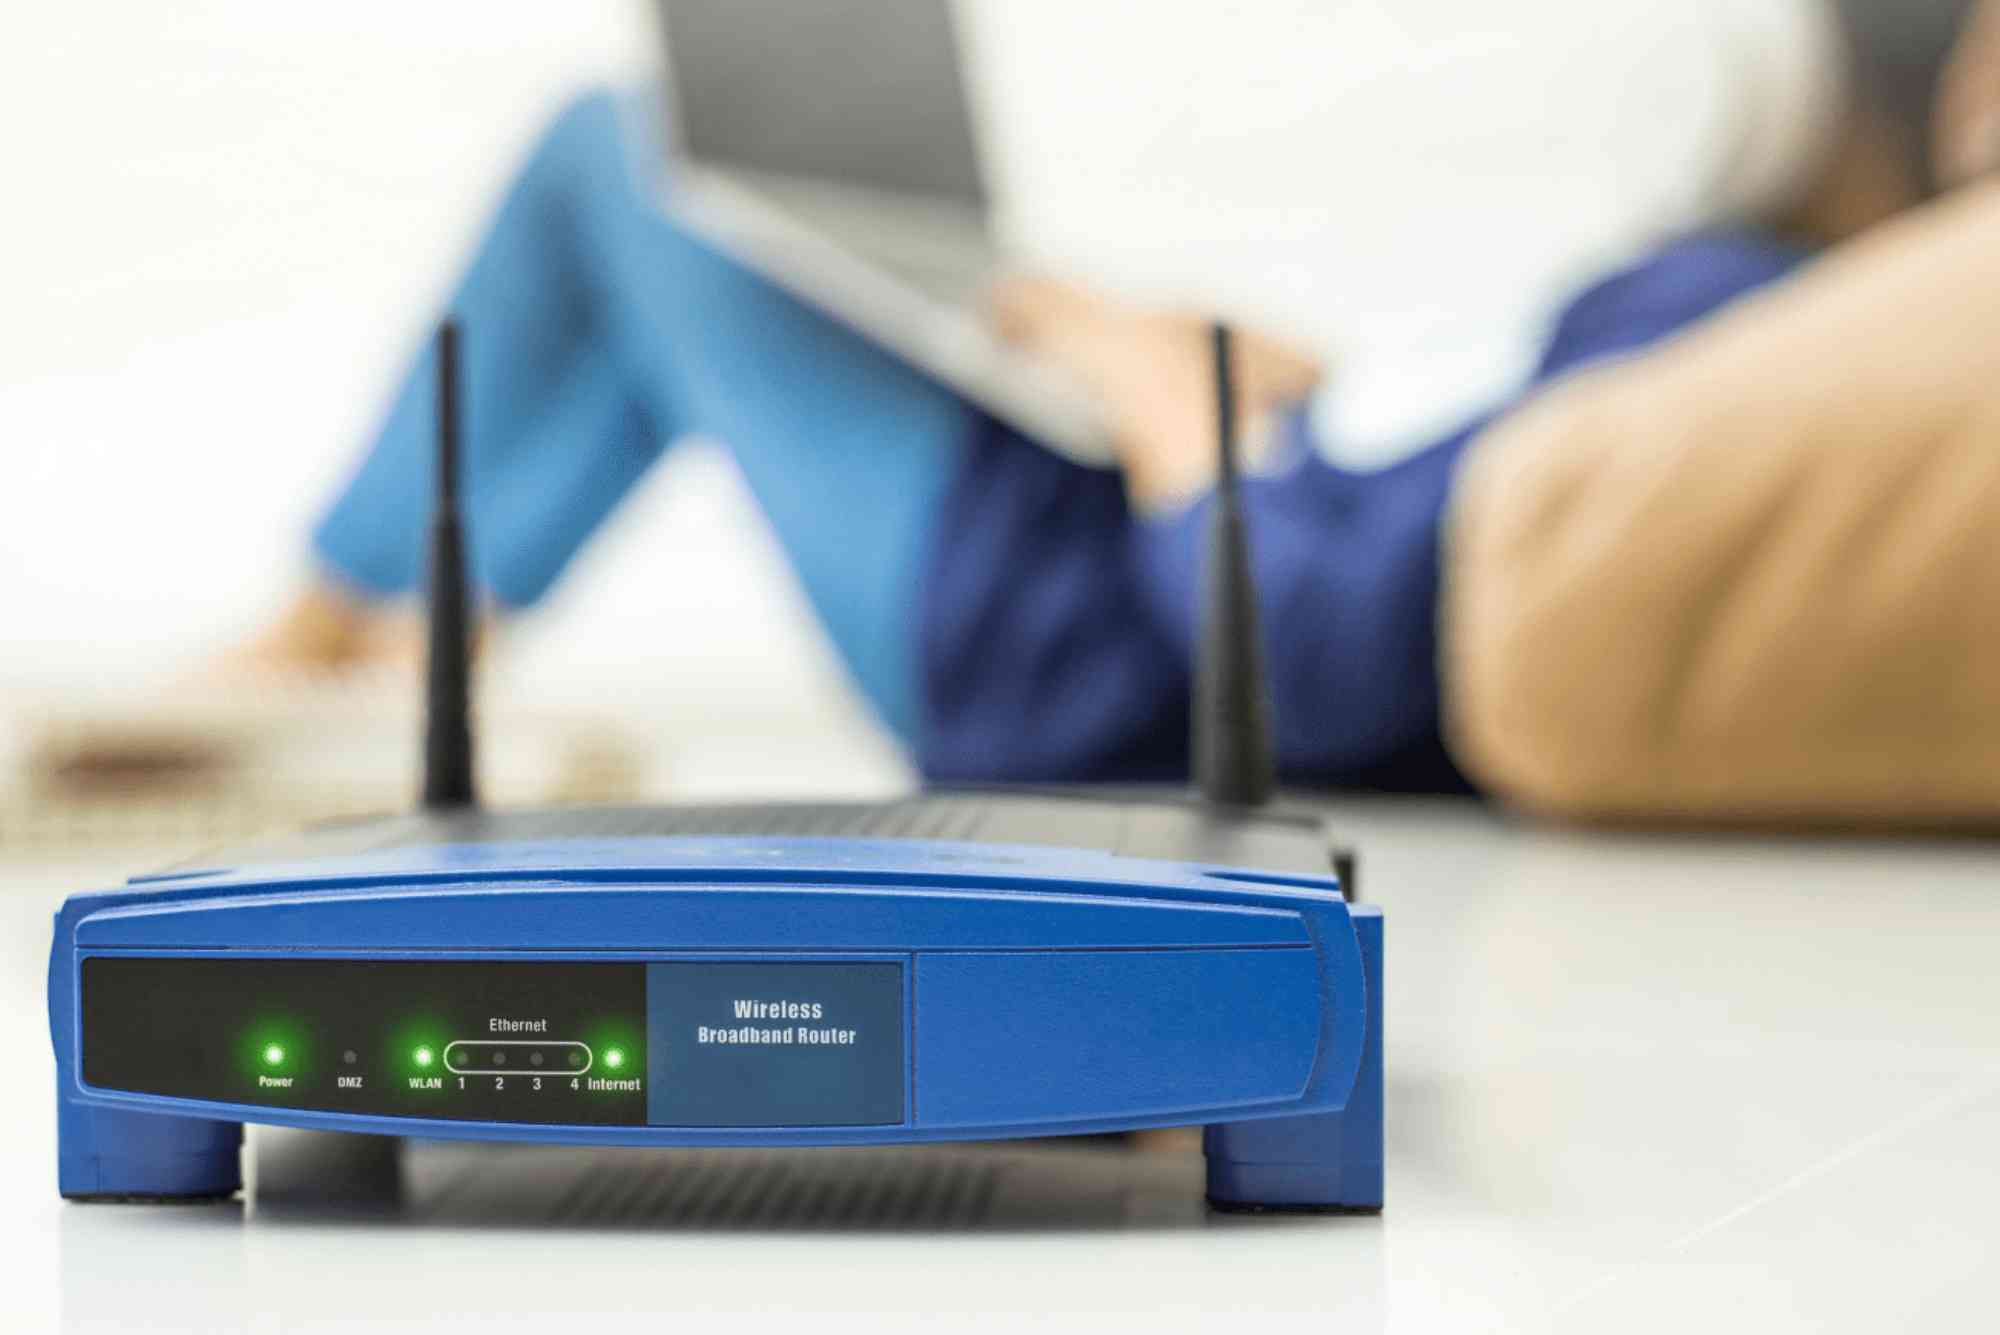
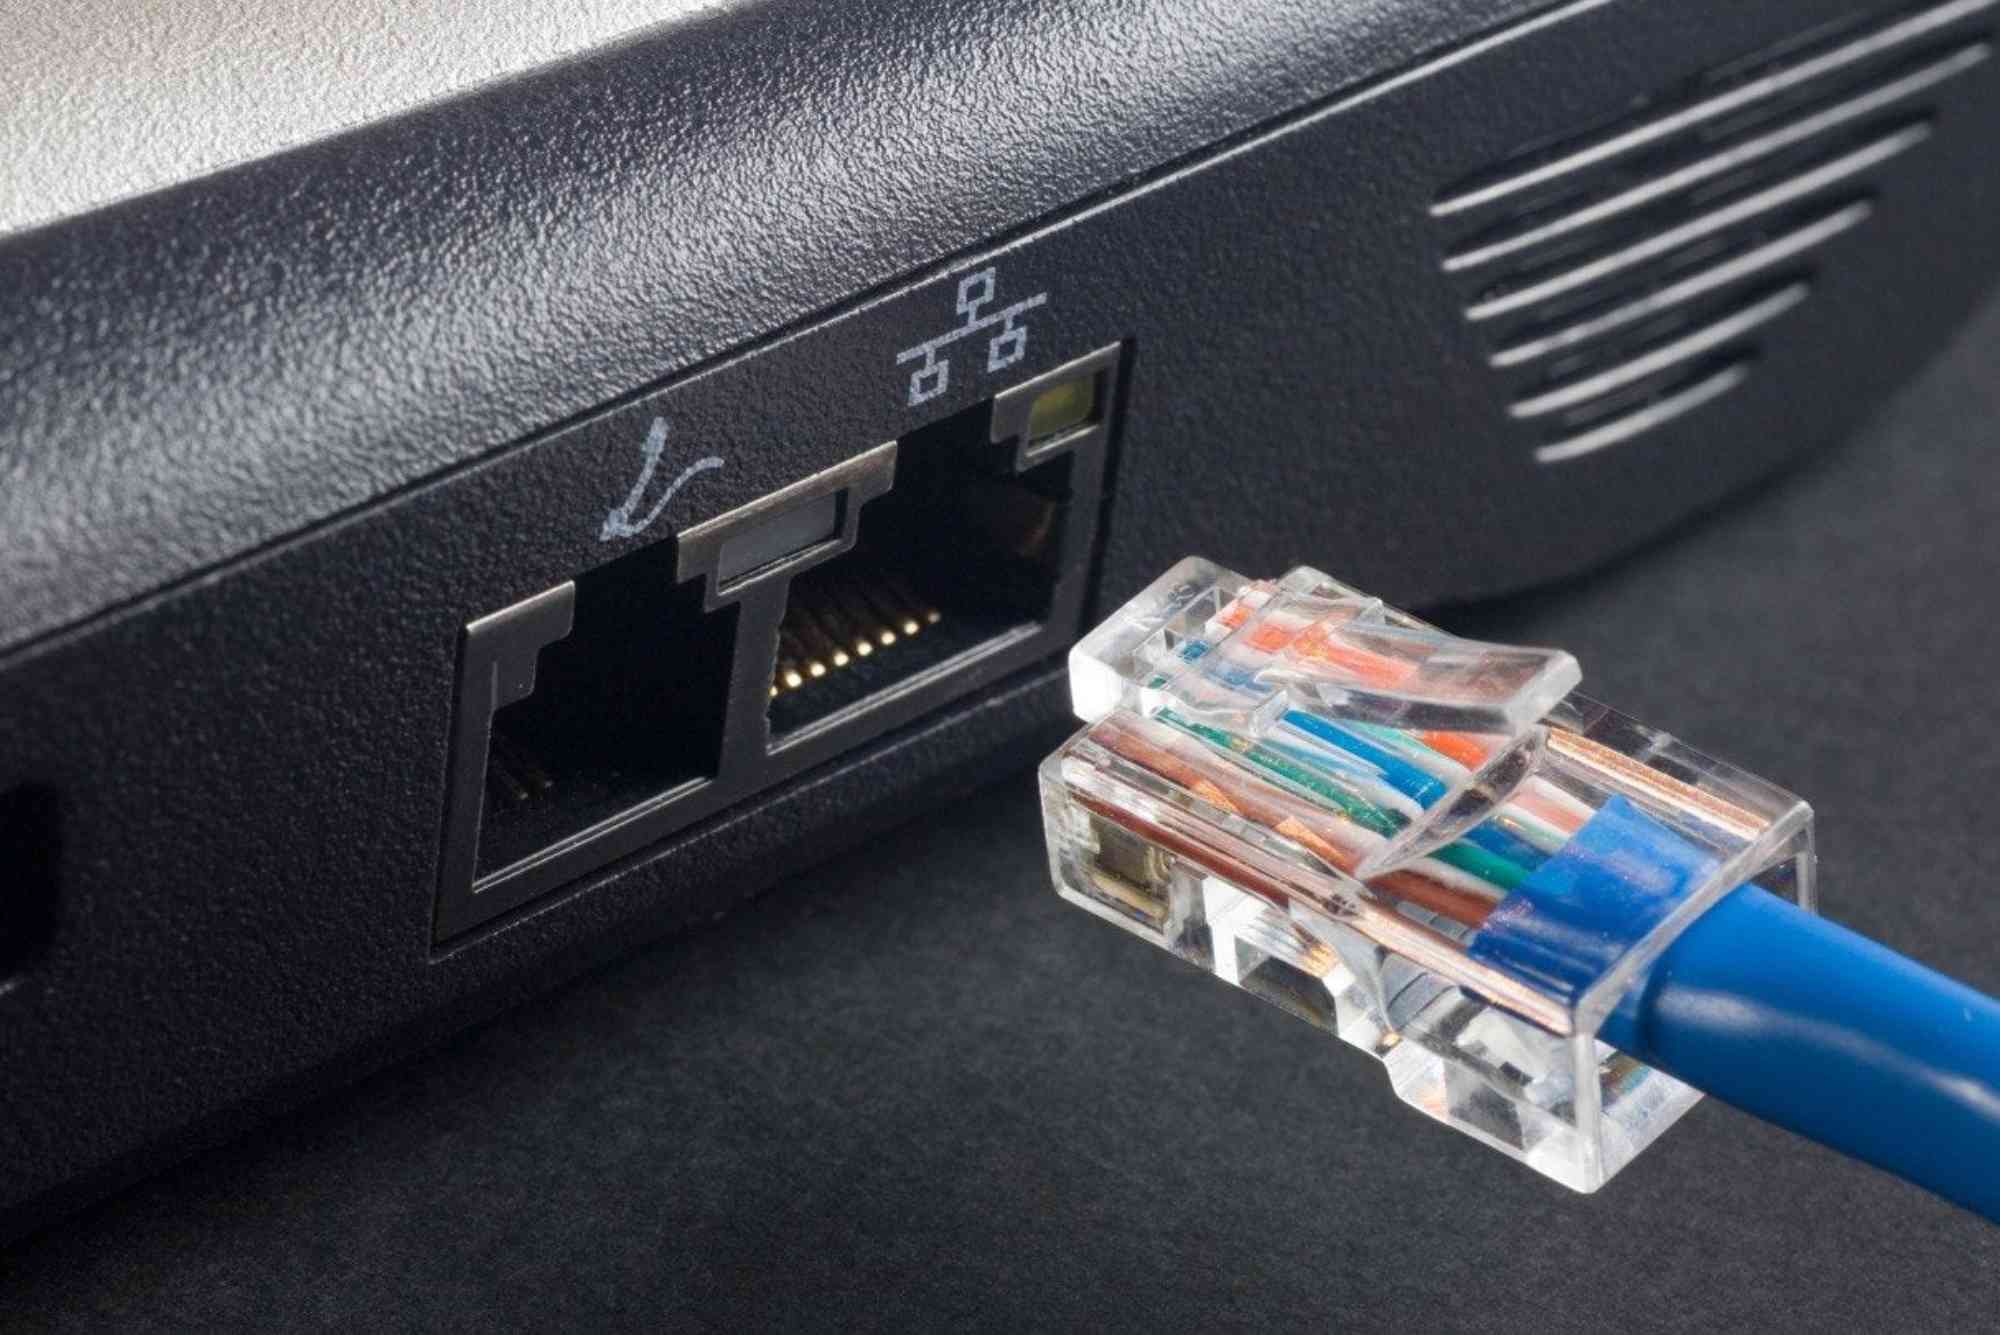
The simplest step is to make sure your Ethernet cable and port are functioning properly. Plug the Ethernet cable into another device, such as a laptop, to confirm that the cable isn’t damaged. Also, check if the Ethernet port lights are blinking; if not, it might indicate a physical issue with the port.
If your router or modem has multiple Ethernet ports, try plugging into a different one. Restart your router and PC to refresh the network connection. This step may sound basic, but it solves many connectivity problems after updates.
Enable Ethernet Adapter in Windows
Sometimes, Windows disables the Ethernet adapter during the update process. To fix this, open Control Panel, go to Network and Sharing Center, then click Change adapter settings. Right-click on your Ethernet adapter and select Enable if it’s disabled.
Alternatively, open the Device Manager by right-clicking on the Start button. Expand the Network adapters section, right-click on your Ethernet device, and select Enable device. This quick step often resolves the issue immediately.
Update or Roll Back Network Drivers
Windows updates can replace your existing drivers with newer or incompatible versions. If the Ethernet stops working after the update, it’s often a driver-related issue.
To fix this, go to Device Manager, expand Network adapters, right-click your Ethernet adapter, and choose Update driver. Select Search automatically for drivers. If that doesn’t help, try rolling back the driver by selecting Properties, navigating to the Driver tab, and clicking Roll Back Driver. This action restores the previous working version.
If neither option works, visit your motherboard or network card manufacturer’s website to download the latest compatible driver manually. Installing the correct driver ensures stable connectivity.
Reset TCP/IP and Network Settings
Windows updates can alter TCP/IP configurations, leading to disconnection issues. You can reset your network settings using Command Prompt.
-
Open Command Prompt as administrator.
-
Type the following commands one by one, pressing Enter after each:
-
netsh winsock reset -
netsh int ip reset -
ipconfig /release -
ipconfig /renew -
ipconfig /flushdns
-
After executing these commands, restart your computer. This method resets all network configurations, often resolving hidden conflicts caused by updates.
Check Network Services
Windows runs several background services that manage network connections. Sometimes these services stop or fail to restart properly after updates.
Press Windows + R, type services.msc, and hit Enter. Look for the following services:
-
DHCP Client
-
Network Connections
-
Network List Service
-
Network Location Awareness
-
Wired AutoConfig
Ensure all of these are running and set to Automatic. If any are stopped, right-click and choose Start. This ensures that your Ethernet connection has all the required background support to function correctly.
Disable and Re-enable Ethernet Adapter
If your Ethernet connection is still inactive, try disabling and re-enabling the adapter. Go to Network and Internet Settings, select Change adapter options, right-click your Ethernet adapter, and choose Disable. Wait a few seconds, then right-click it again and select Enable.
This process refreshes the adapter and helps Windows reinitialize the connection. It’s one of the easiest ways to fix Ethernet not working after Windows update without altering deeper system configurations.
Run Windows Network Troubleshooter
Windows includes a built-in troubleshooting tool designed to detect and fix network problems automatically. Go to Settings > Network & Internet > Status and click Network troubleshooter. Follow the on-screen instructions and let Windows attempt to identify and repair the issue.
This method is helpful for detecting software conflicts, missing drivers, or misconfigured network settings introduced during the update.
Disable Power Saving Mode for Network Adapter
Windows sometimes turns off devices to save power, which can affect network performance after an update. To prevent this, open Device Manager, expand Network adapters, and double-click your Ethernet adapter. Go to the Power Management tab and uncheck Allow the computer to turn off this device to save power.
Restart your PC after applying this setting. Many users have reported that this resolves Ethernet disconnection issues, especially on laptops.
Check for DNS and IP Configuration Errors
If your Ethernet is connected but there’s no internet access, the problem might lie in your DNS or IP settings. Open Network and Sharing Center, click your Ethernet connection, and then select Properties. Double-click on Internet Protocol Version 4 (TCP/IPv4).
Ensure that Obtain an IP address automatically and Obtain DNS server address automatically are selected. If not, switch them on. Alternatively, you can use Google’s public DNS by entering 8.8.8.8 and 8.8.4.4. Save changes and restart your computer.
Reinstall the Ethernet Adapter
If none of the above methods work, reinstall the Ethernet adapter completely. In Device Manager, right-click your Ethernet device and select Uninstall device. Restart your PC, and Windows will automatically reinstall the adapter. This step ensures a fresh setup free from corrupted files or conflicting settings.
Temporarily Disable Firewall or Antivirus
Security software may sometimes interfere with your network after a Windows update. Temporarily disable your antivirus or firewall and check if the Ethernet starts working again. If it does, you can either adjust the firewall settings or contact your security software provider for guidance.
Remember to re-enable your antivirus afterward to keep your computer protected.
Restore Windows to a Previous State
If your Ethernet worked fine before the update and nothing else has fixed it, restoring your system to a previous state can help. Open System Restore by typing it in the Windows search bar. Follow the prompts to revert your system to a restore point before the update.
This process rolls back system changes without affecting your personal files, effectively undoing any network-related alterations made by the update.
When to Seek Professional Help
If your Ethernet still isn’t working, there may be deeper hardware or system-level issues. You can seek help from a professional technician or your internet service provider. For example, Dhanote Internet Services offers expert support and reliable internet solutions that can help diagnose and resolve connection problems quickly.
Preventing Future Ethernet Issues After Updates
To prevent this problem from happening again, take a few preventive measures. Always create a restore point before installing major Windows updates. Keep a backup of your working network drivers so you can reinstall them if something goes wrong. You can also disable automatic driver updates in Windows settings to prevent unwanted driver changes.
Regularly check your manufacturer’s website for network driver updates instead of relying solely on Windows Update. Maintaining manual control over these updates ensures greater stability.
Experiencing Ethernet not working after a Windows update can be stressful, especially if you rely on a wired connection for work or gaming. However, the issue is usually software-related and can be resolved by following the troubleshooting steps outlined above. From checking physical connections and enabling adapters to resetting network configurations and updating drivers, each method plays a crucial role in restoring your connection.
If the problem persists even after applying these solutions, don’t hesitate to reach out to your internet provider or a trusted professional like Dhanote Internet Services for expert guidance and support. A stable and fast Ethernet connection is just a few steps away.
FAQs
Why did my Ethernet stop working after a Windows update?
It often happens because Windows updates can change network settings or install incompatible drivers that affect Ethernet performance.
How do I reset my Ethernet connection in Windows?
You can reset it by running network reset commands in Command Prompt, such as netsh winsock reset and netsh int ip reset.
Can a Windows update delete my network drivers?
Yes, some updates can overwrite or remove existing network drivers, leading to connection issues. Reinstalling or rolling back drivers usually fixes this.
Is it safe to uninstall and reinstall my Ethernet adapter?
Absolutely. Uninstalling and reinstalling the adapter can resolve corrupted driver issues without harming your computer.
What should I do if Ethernet still doesn’t work after trying everything?
If all troubleshooting fails, contact your service provider or a professional technician like Dhanote Internet Services for expert assistance.